
Where do I change my company details in Tazk POS?
Open Settings → Company Info. The General tab shows your company name, type, GST registration, email, mobile, phone, GSTIN, logo and bank account details; click the pencil at the top right to edit them. The other tabs manage Departments, Locations (your shops and warehouses), Departments Head and LOV, the lists of values used in drop-downs across the app.
What is on the General tab?
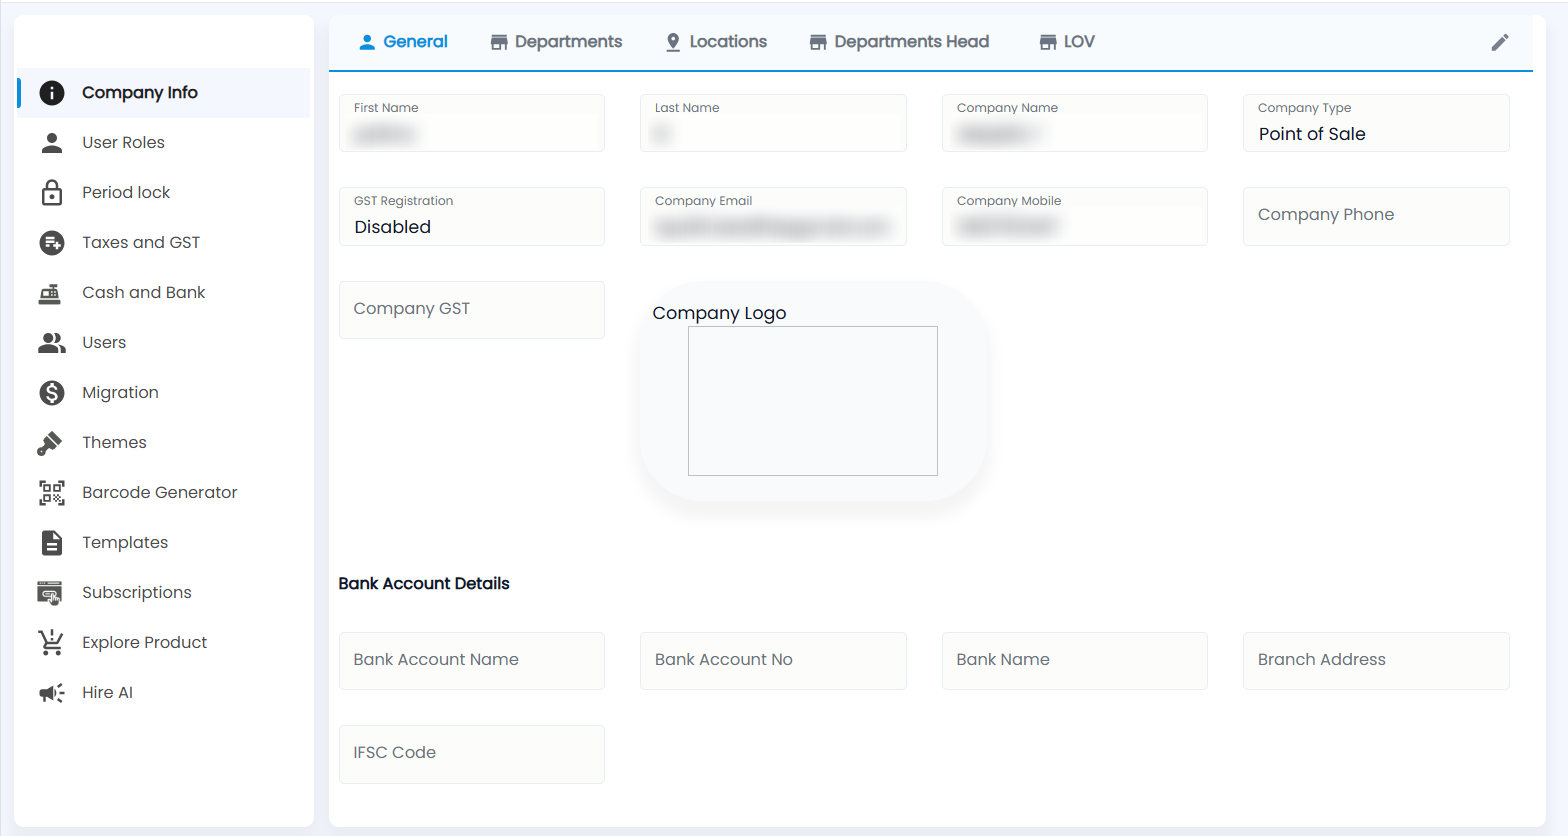
Open Settings → Company Info. Five tabs run along the top: General, Departments, Locations, Departments Head and LOV. General opens first and is read-only until you click the pencil at the top right.
| Field | What it holds |
|---|---|
| First Name / Last Name | The account owner's name |
| Company Name | The name printed on your documents |
| Company Type | Your business type, for example Point of Sale |
| GST Registration | Enabled if you are GST-registered, otherwise Disabled |
| Company Email, Company Mobile, Company Phone | Your business contact details |
| Company GST | Your GSTIN, when you are registered |
| Company Logo | The logo used on printed documents |
Under Bank Account Details enter the Bank Account Name, Bank Account No, Bank Name, Branch Address and IFSC Code. These can print on invoices so customers know where to pay.
How do I add a department?
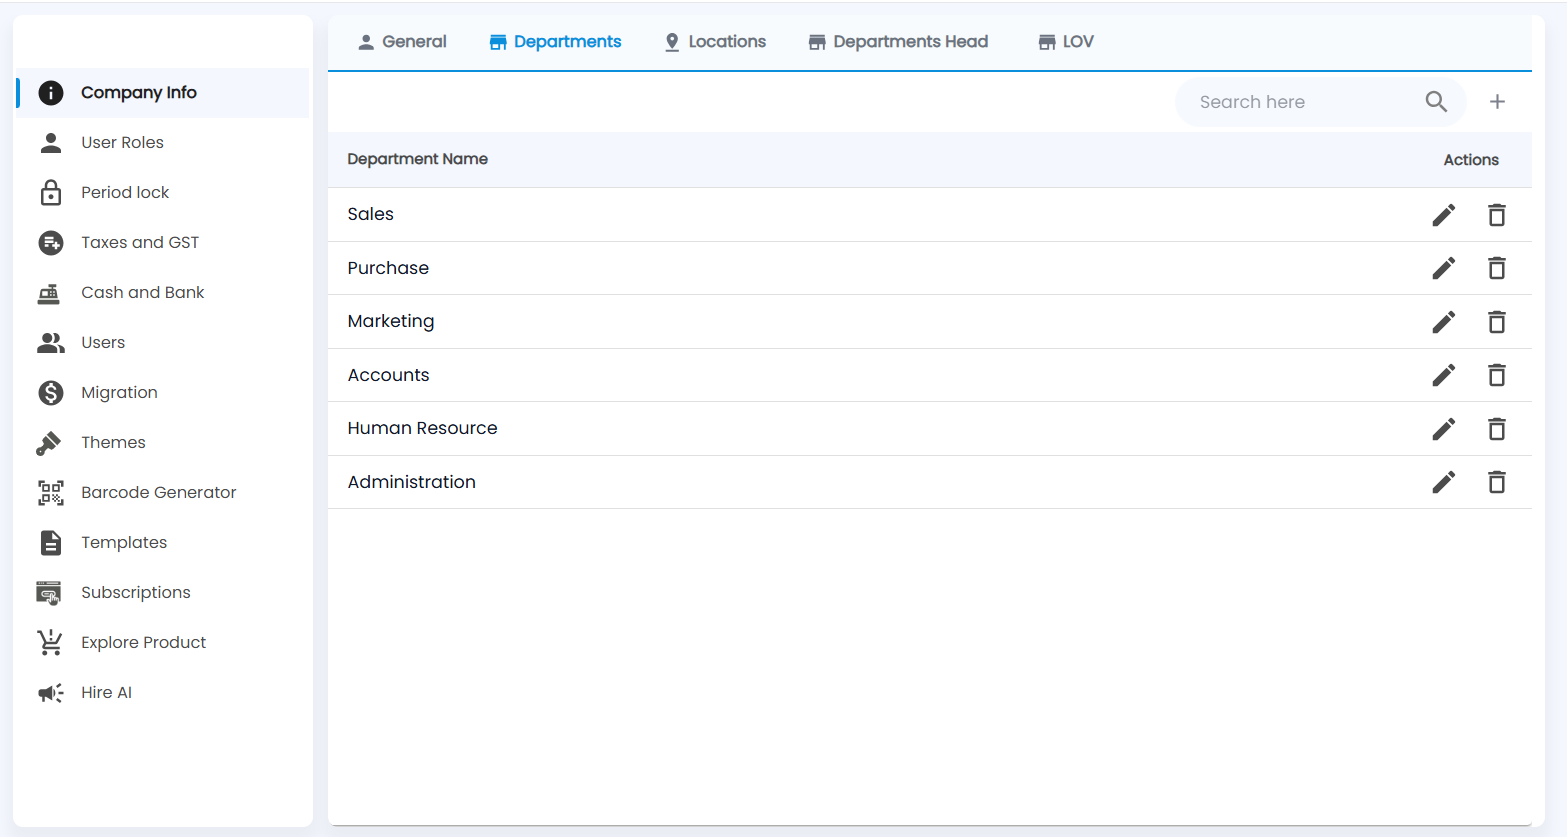
The Departments tab lists each Department Name with edit (pencil) and delete (bin) Actions. New accounts start with Sales, Purchase, Marketing, Accounts, Human Resource and Administration. Use Search here to find one.
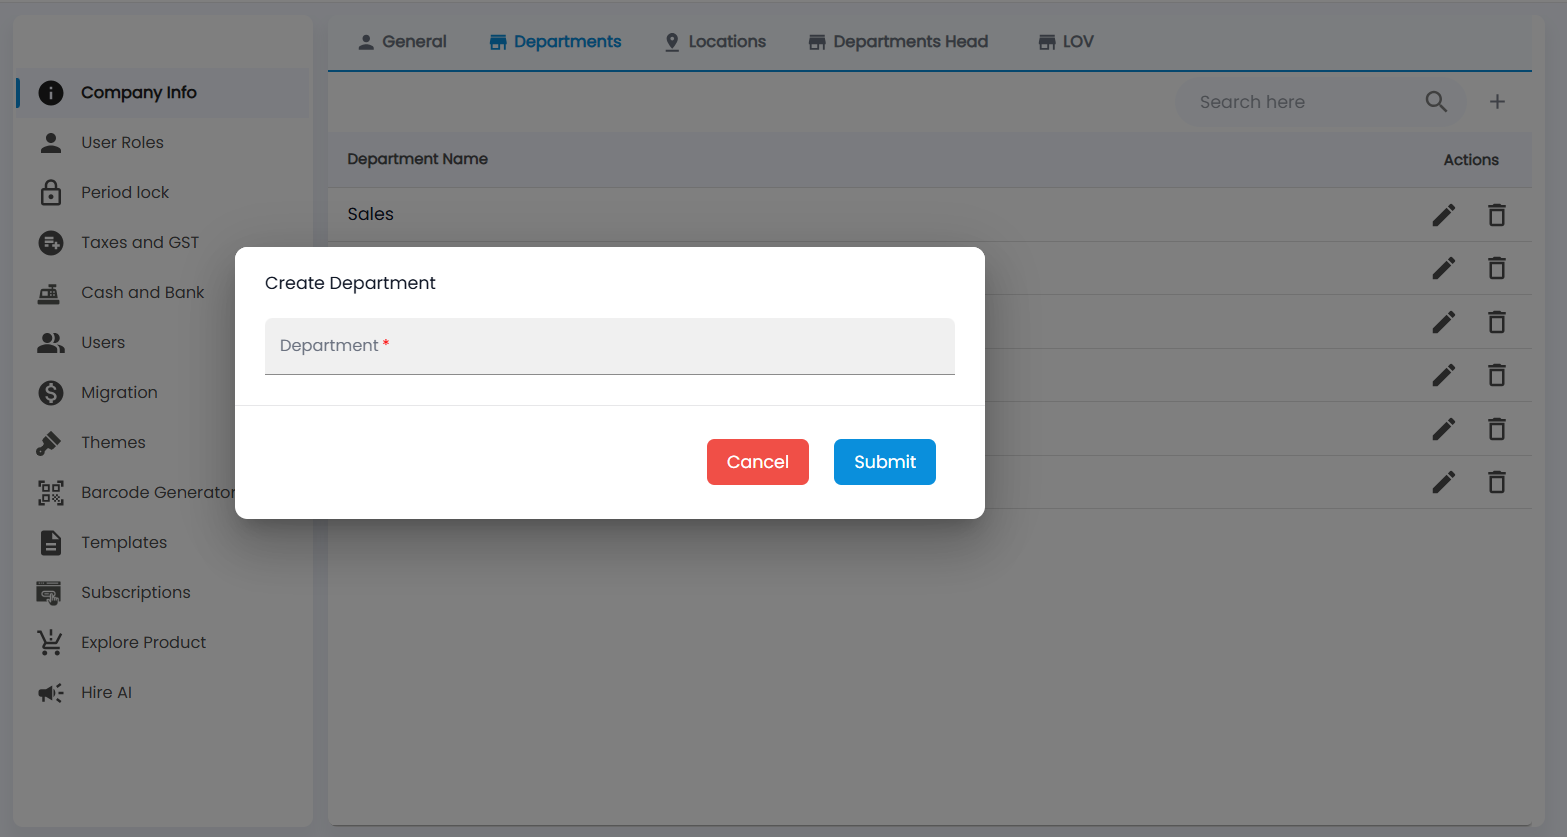
- Click +. The Create Department dialog opens.
- Enter the Department name (required).
- Click Submit (or Cancel).
Departments are chosen on employee and user records, and on Employee Contacts.
How do I add a location?
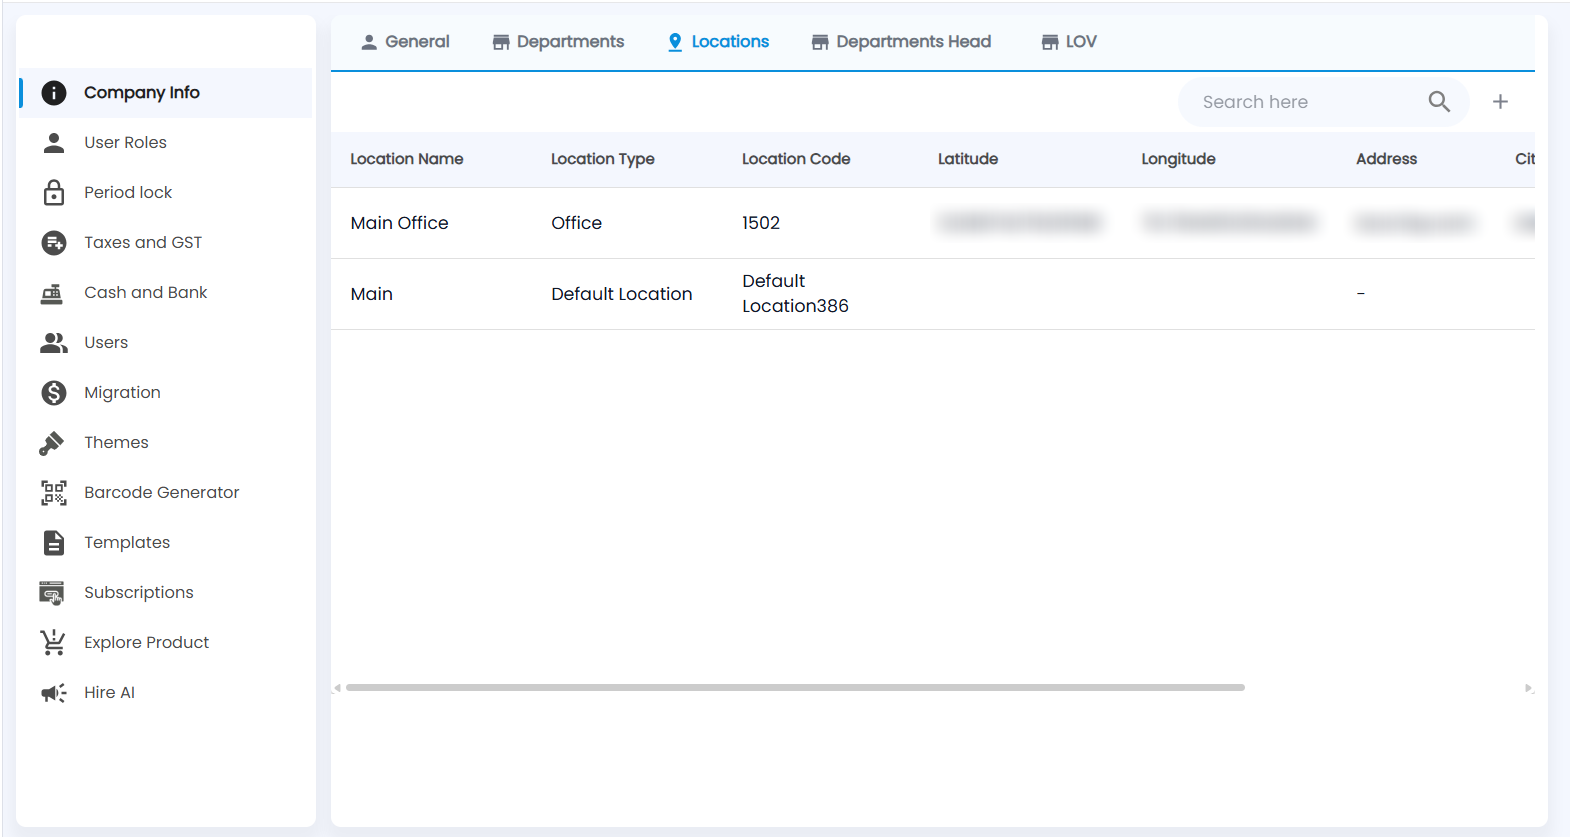
The Locations tab lists your shops, offices and warehouses with Location Name, Location Type, Location Code, Latitude, Longitude, Address, City and more to the right (scroll sideways). Every account has a Main row of type Default Location.
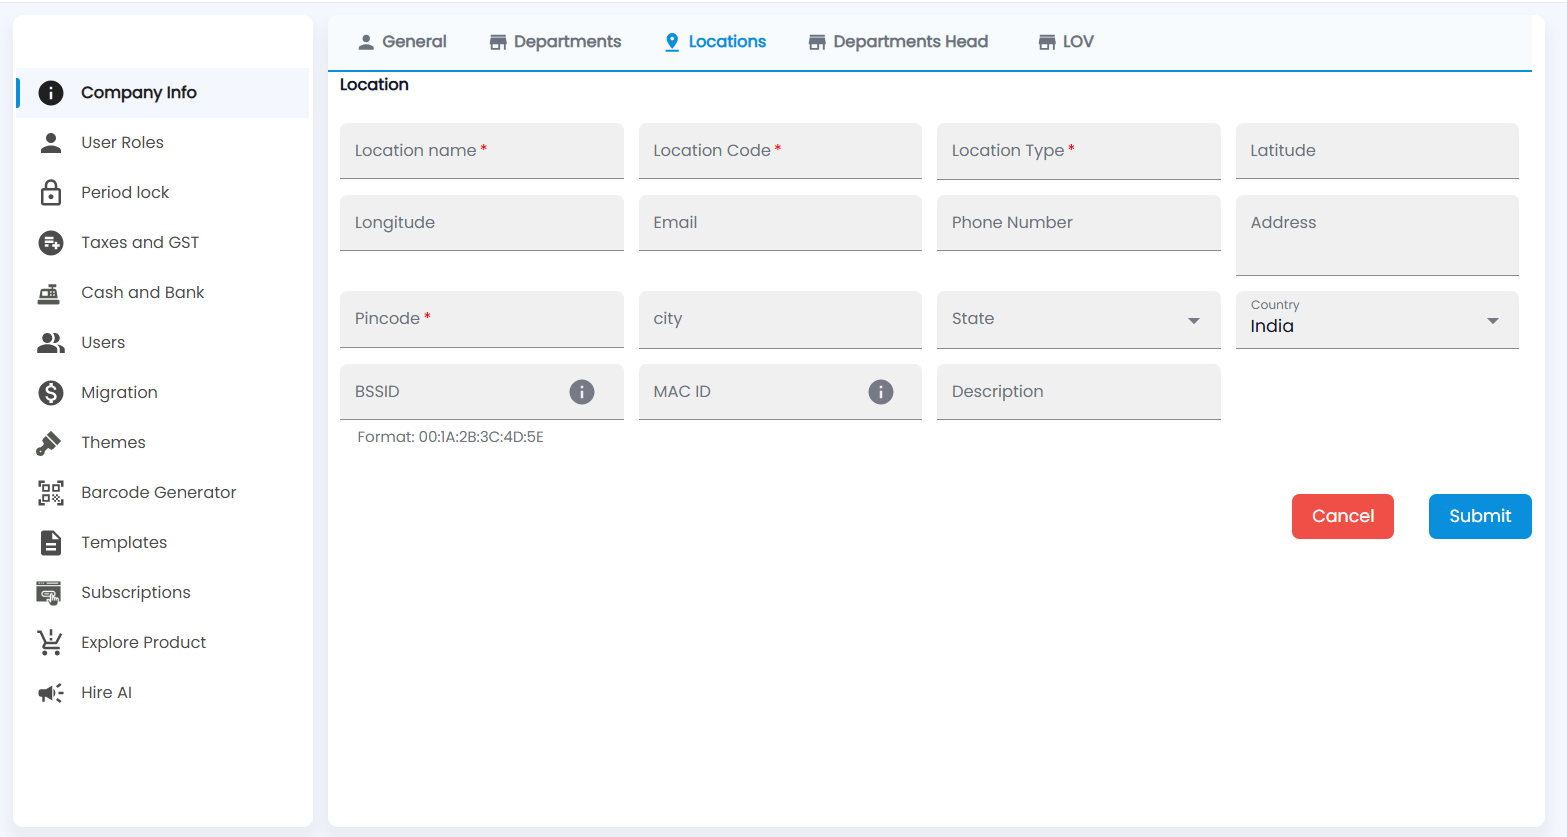
- Click +. The Location form opens.
- Enter the Location name, Location Code and Location Type (all required).
- Add the Latitude and Longitude, Email, Phone Number and Address if you want them on record.
- Enter the Pincode (required), city and State. Country is India by default.
- Optionally enter the BSSID (the Wi-Fi network's hardware address, in the format 00:1A:2B:3C:4D:5E) and MAC ID; hover the i icon on each for what it is used for. Add a Description.
- Click Submit (or Cancel).
How do I set a department head?
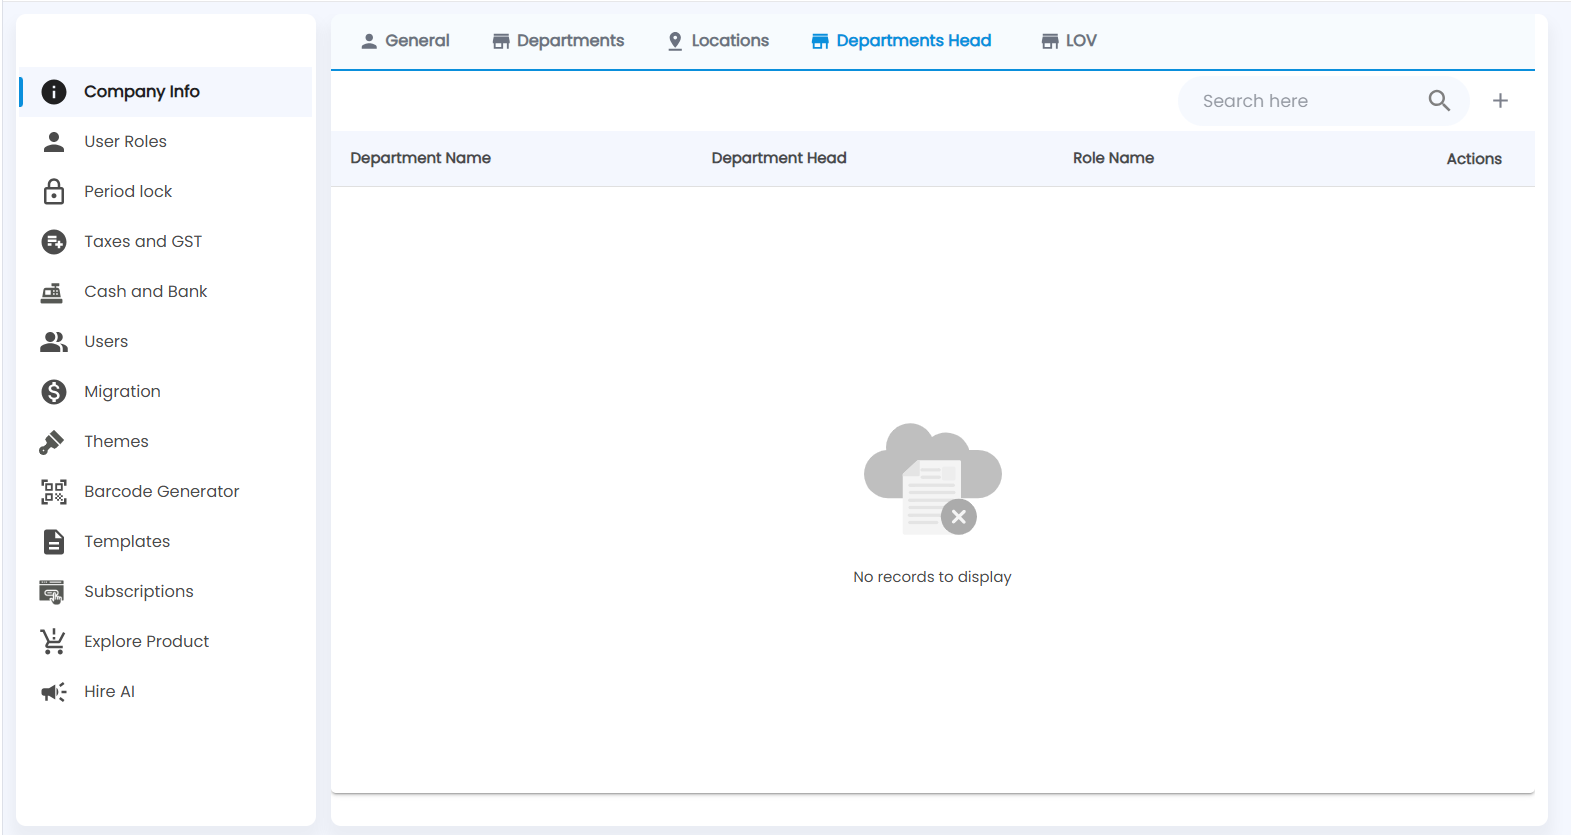
The Departments Head tab lists Department Name, Department Head, Role Name and Actions. Until you add one it says No records to display.
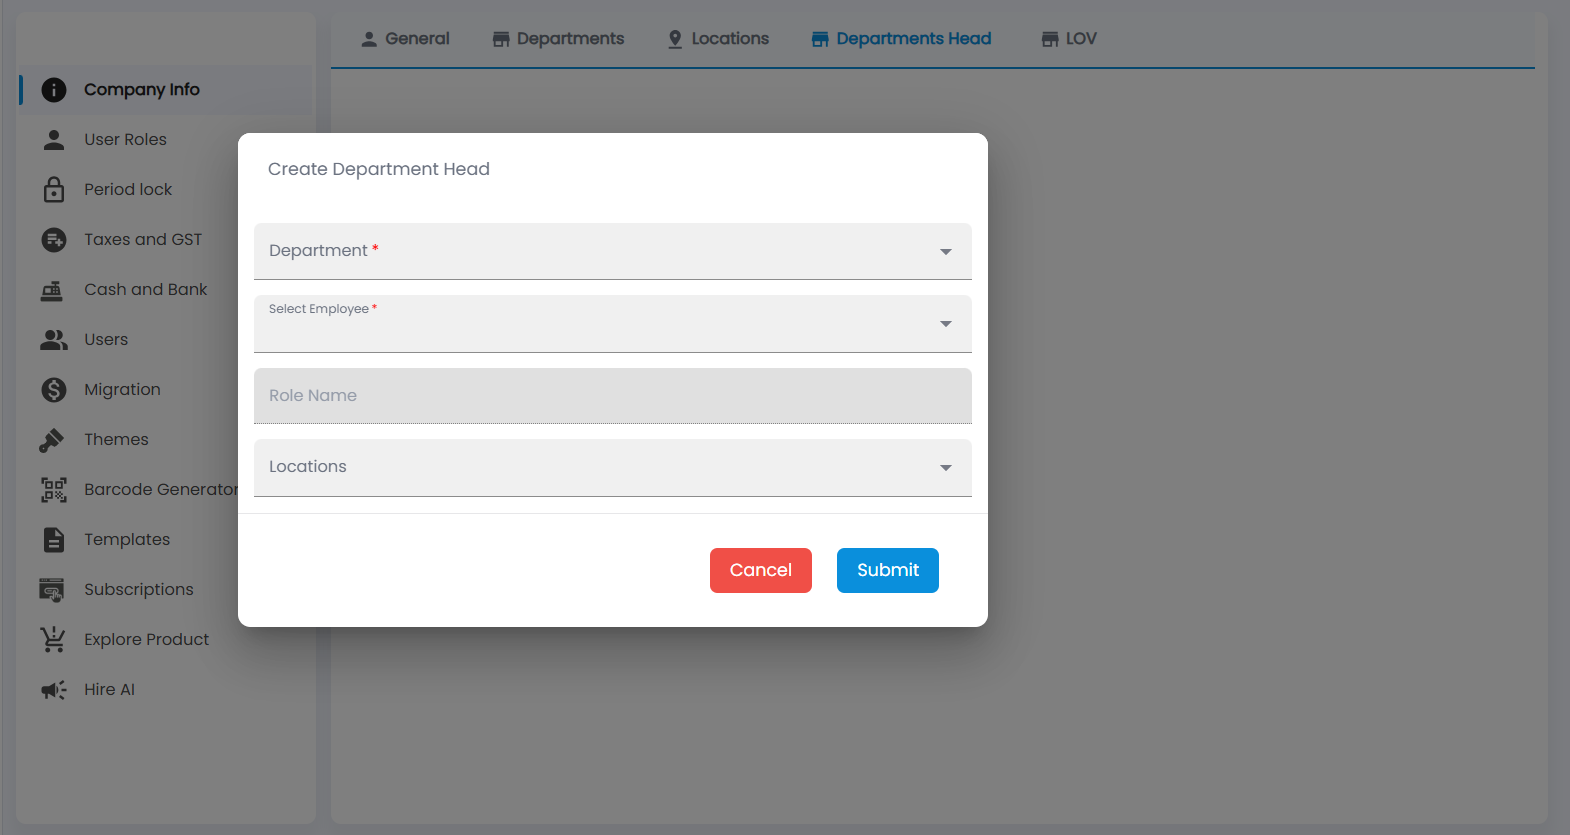
- Click +. Create Department Head opens.
- Choose the Department and Select Employee (both required). Role Name is filled in from the employee and cannot be typed.
- Choose the Locations the head is responsible for.
- Click Submit (or Cancel).
What is the LOV tab?
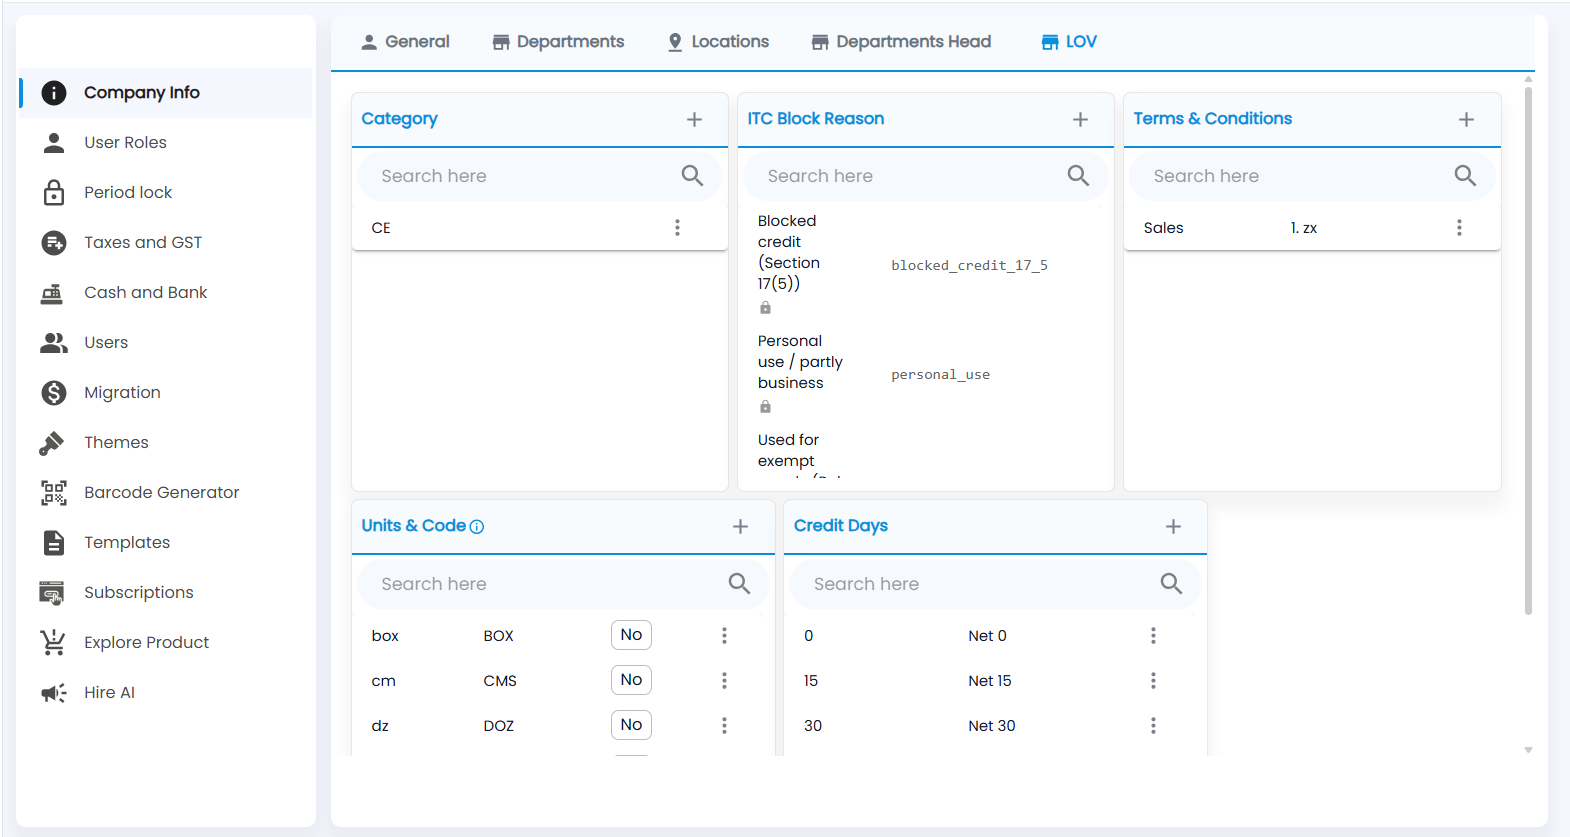
LOV (lists of values) holds the options shown in drop-downs across the app. Each list is a card with + to add an entry, Search here, and a ⋮ menu on each entry. Scroll down for more cards.
| Card | What it holds |
|---|---|
| Category | Your product categories, for example CE |
| ITC Block Reason | Why input tax credit on a purchase is blocked, such as Blocked credit (Section 17(5)) or Personal use / partly business. Entries with a lock icon are built in and cannot be changed |
| Terms & Conditions | Ready-made terms for each document type, for example Sales, to print on your documents |
| Units & Code | Units of measure and their codes, for example box (BOX), cm (CMS), dz (DOZ), each with a Yes / No flag; hover the i next to the title for details |
| Credit Days | Payment terms offered on customers and invoices: Net 0, Net 15, Net 30 and any you add |