
Overview
A role is a set of permissions shared by everyone who does the same job — for example Salesman, Accountant, or Delivery Person. Give each user a role, and they get exactly what that role allows. Open Settings > User Roles.
- The roles are listed on the left — for example Administrator, Accountant, ASM, Back Office, Customer, Delivery Person, Employee, Manager, Sales Manager, Salesman, Team Leader, and TSM. Click a role to work on it; its name is shown at the top
- Click + next to User Roles to add a role
- The tabs set different kinds of permission: Menu Access, Dashboard, Notifications, Data Scope, and Field Visibility
Menu Access
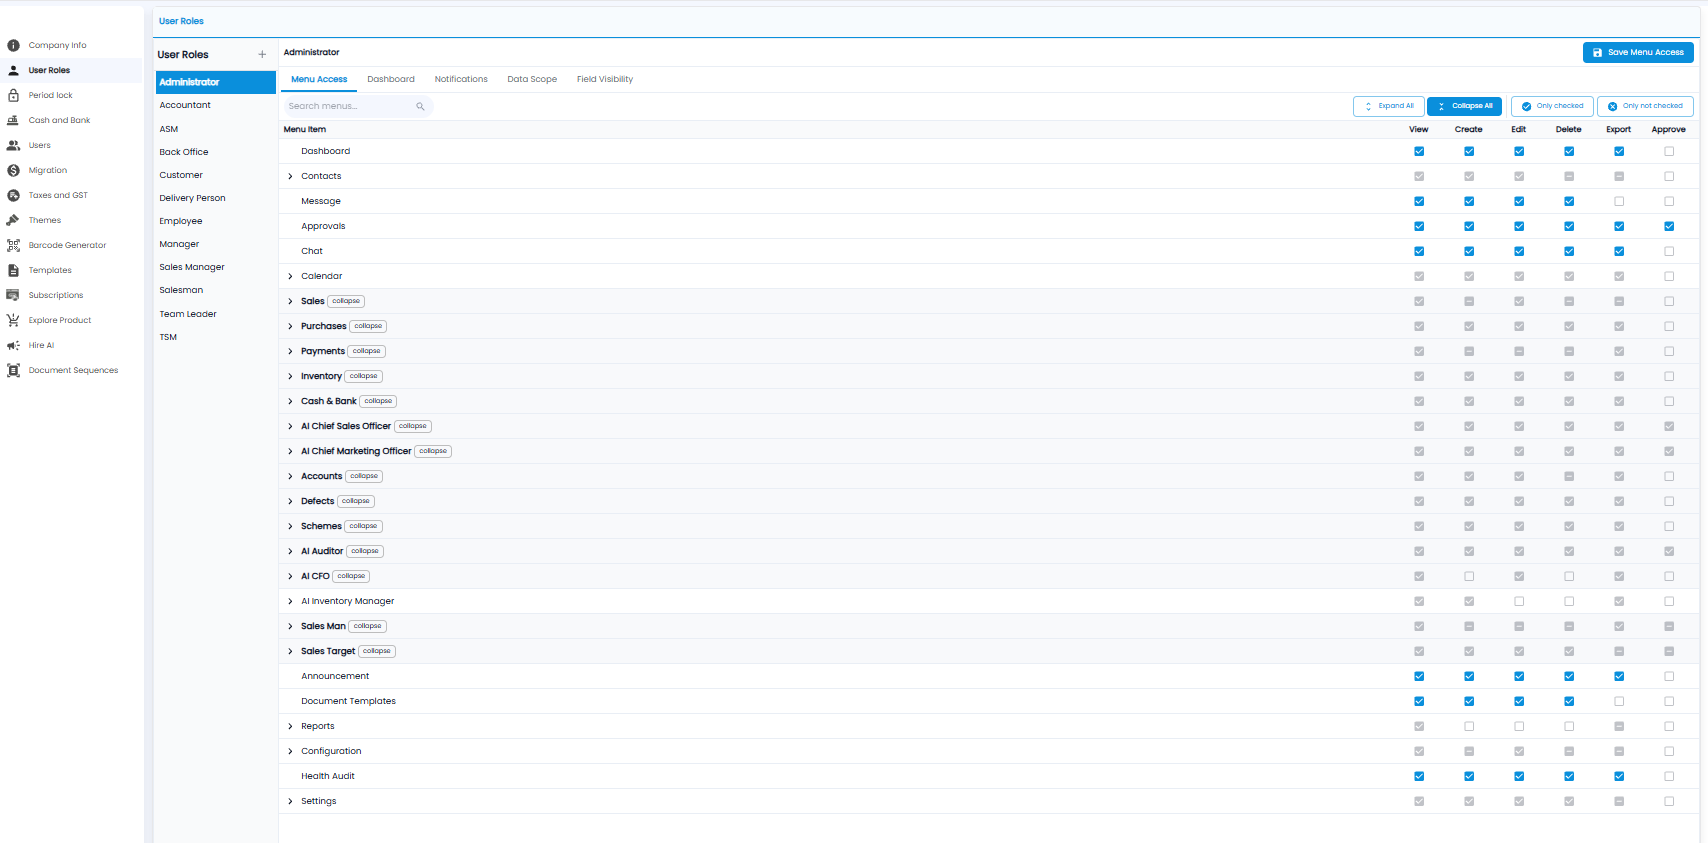
Sets which menus the role can open and what it can do in each. Every menu item has six tick boxes:
| Permission | Allows |
|---|---|
| View | Opening the page and seeing its records |
| Create | Adding new records |
| Edit | Changing records |
| Delete | Deleting records |
| Export | Downloading lists and reports |
| Approve | Approving requests on that page |
- Menus with sub-menus (for example Sales, Purchases, or Inventory) have an arrow — click it to open the group and set each sub-menu separately. A dash in a group's box means only some of its sub-menus are ticked
- Expand All / Collapse All open or close every group
- Only checked / Only not checked show just the items that are, or are not, allowed
- Use Search menus to find an item
Click Save Menu Access.
Dashboard
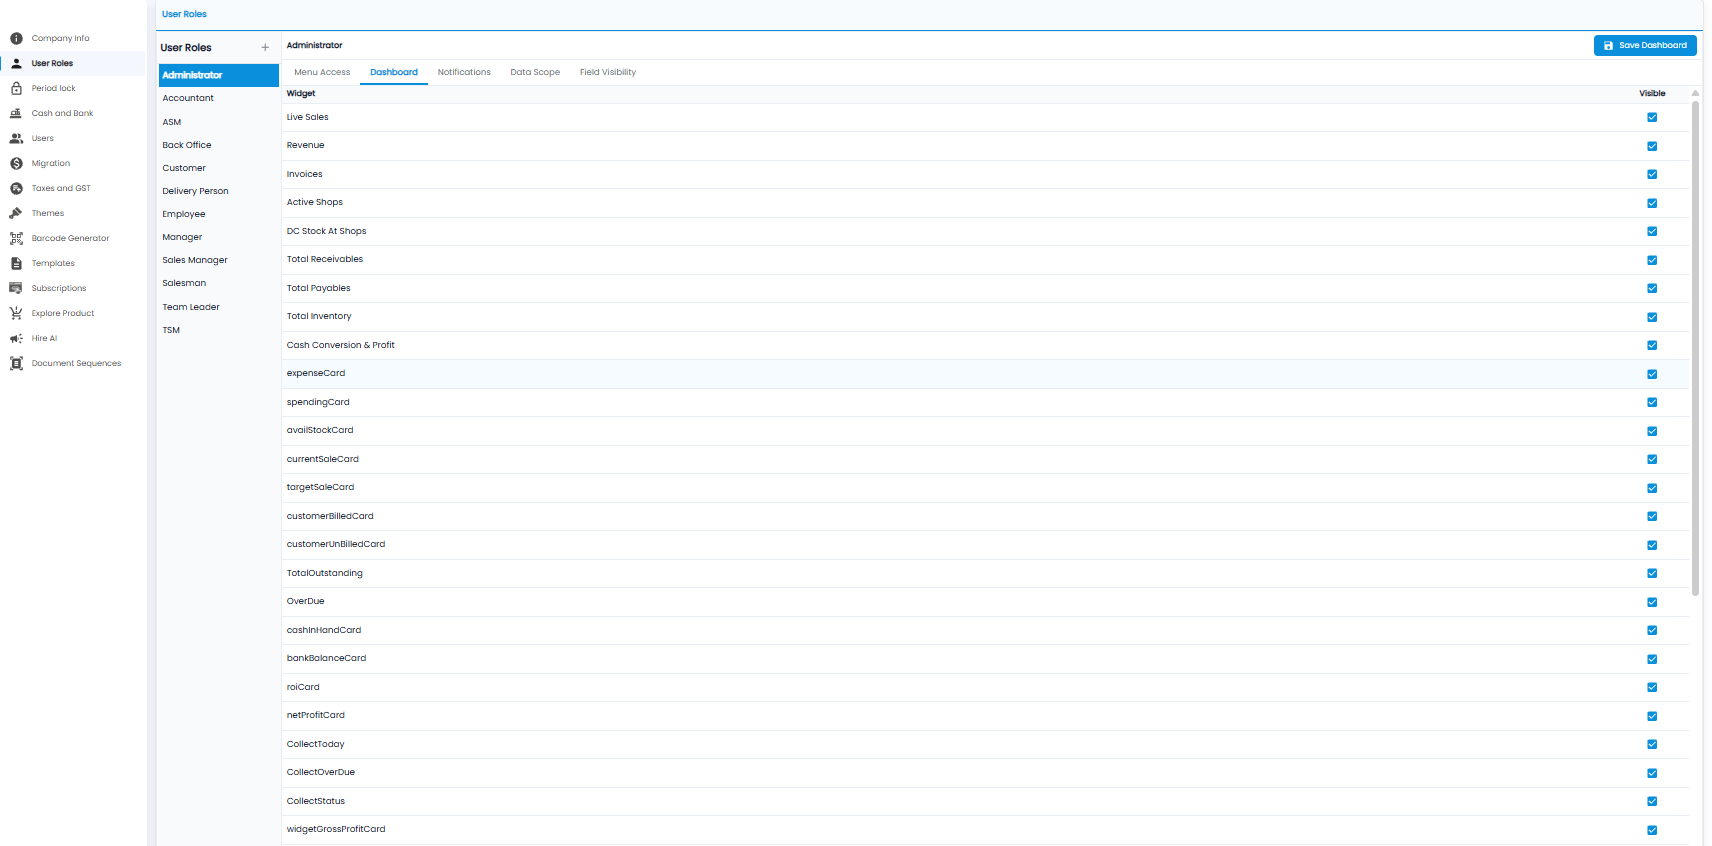
Sets which widgets the role sees on the dashboard — for example Live Sales, Revenue, Total Receivables, or Total Inventory. Tick Visible for each widget the role should see. Some widgets are listed by their internal name, for example cashInHandCard or netProfitCard. Click Save Dashboard.
Notifications
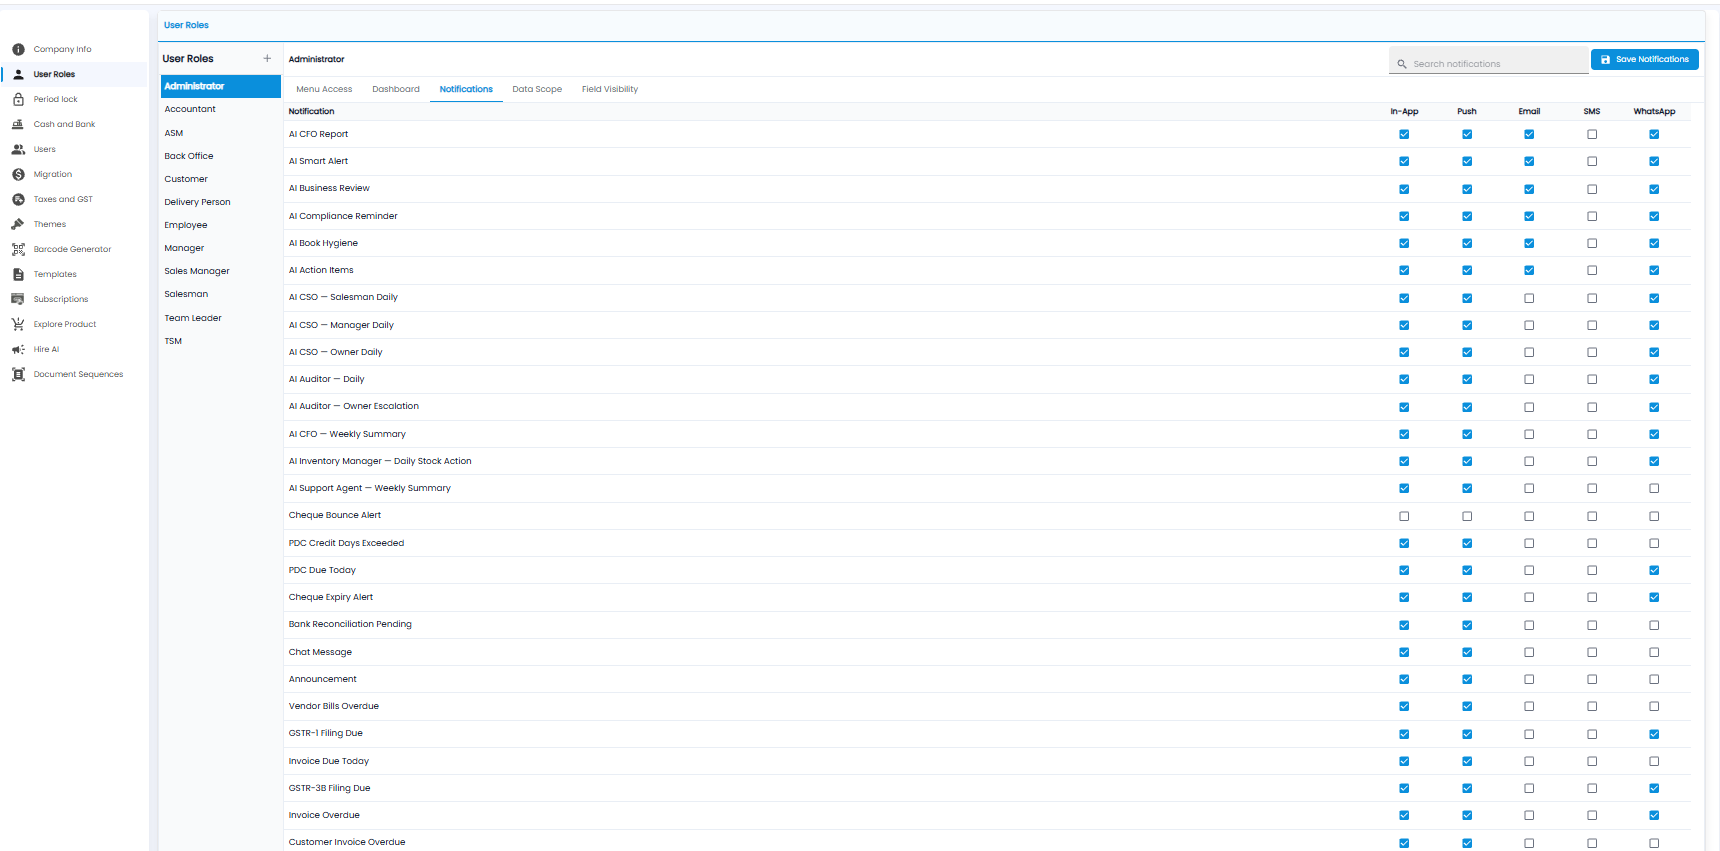
Sets which notifications the role receives, and how. Each notification — for example Cheque Bounce Alert, PDC Due Today, Invoice Overdue, GSTR-1 Filing Due, or the AI reports — has five channels:
- In-App — inside Tazk
- Push — on the mobile app
- Email, SMS, and WhatsApp — sent using the settings under Configuration
Use Search notifications to find one, and click Save Notifications.
Data Scope
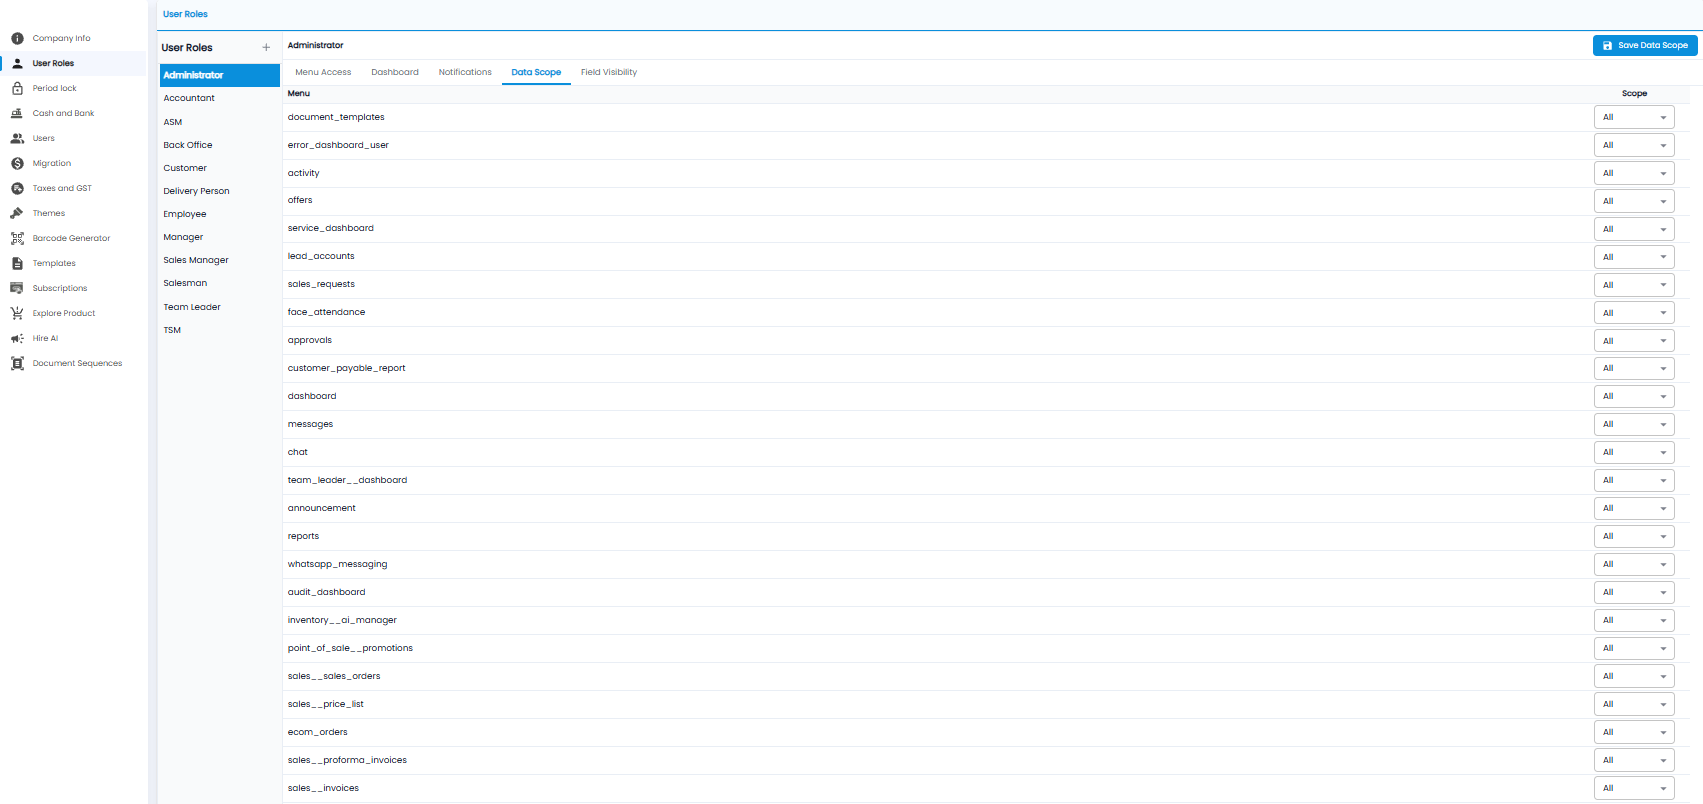
Sets how much of the data on each page the role can see. Every menu is listed by its internal name — for example sales__invoices or approvals — with a Scope drop-down. All shows the role every record; choose a narrower scope from the drop-down to limit what it sees. Click Save Data Scope.
Field Visibility
Sets which fields the role can see.