
How do I create an incentive plan in Tazk POS?
Open Sales Target → Incentive Plans and click Add Plan. Enter the plan name, choose the plan type (Base Incentive or an add-on), set the effective dates, then add slabs — an achievement % range and the incentive for it (fixed amount, % of sales or per unit). Add any gate conditions, such as minimum collection %, pick the branches it applies to, and click Create Plan.
What does the Incentive Plans list show?
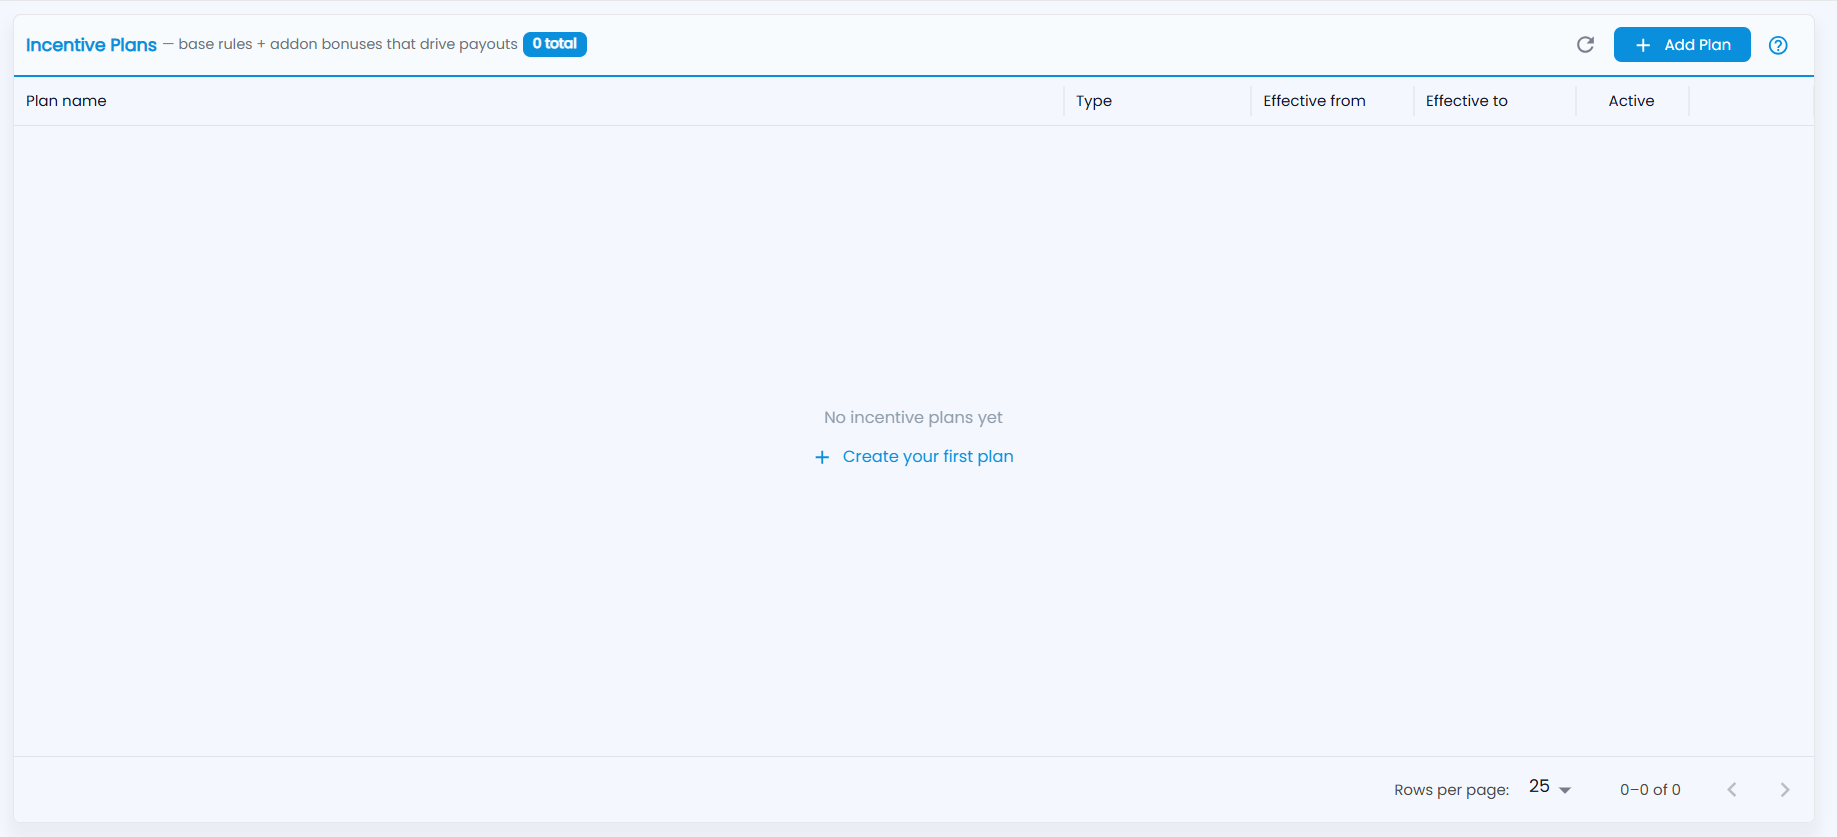
Open Sales Target → Incentive Plans ("base rules + addon bonuses that drive payouts"). The title band has the count badge, refresh and Add Plan.
| Column | What it shows |
|---|---|
| Plan name | The plan's name |
| Type | Base, New Customer, Focus Product, Collection or Quality |
| Effective from / Effective to | When the plan applies |
| Active | A switch to turn the plan on or off |
Use the pencil to edit and the bin to delete a plan (you are asked to confirm). With no plans yet, click Create your first plan.
Which plan types are there?
| Plan Type | Slabs are based on | Gates that apply |
|---|---|---|
| Base Incentive | Sales achievement % (achieved ÷ target value) | All four |
| Add-on: New Customer | New customers achieved ÷ target | Min Achievement % |
| Add-on: Focus Product | Focus product sales achieved ÷ target | Min Achievement % |
| Add-on: Collection | Collected ÷ collection target | Min Collection % |
| Add-on: Quality | Quality score (100% minus returns %) | Max Returns % |
How do I create a plan?
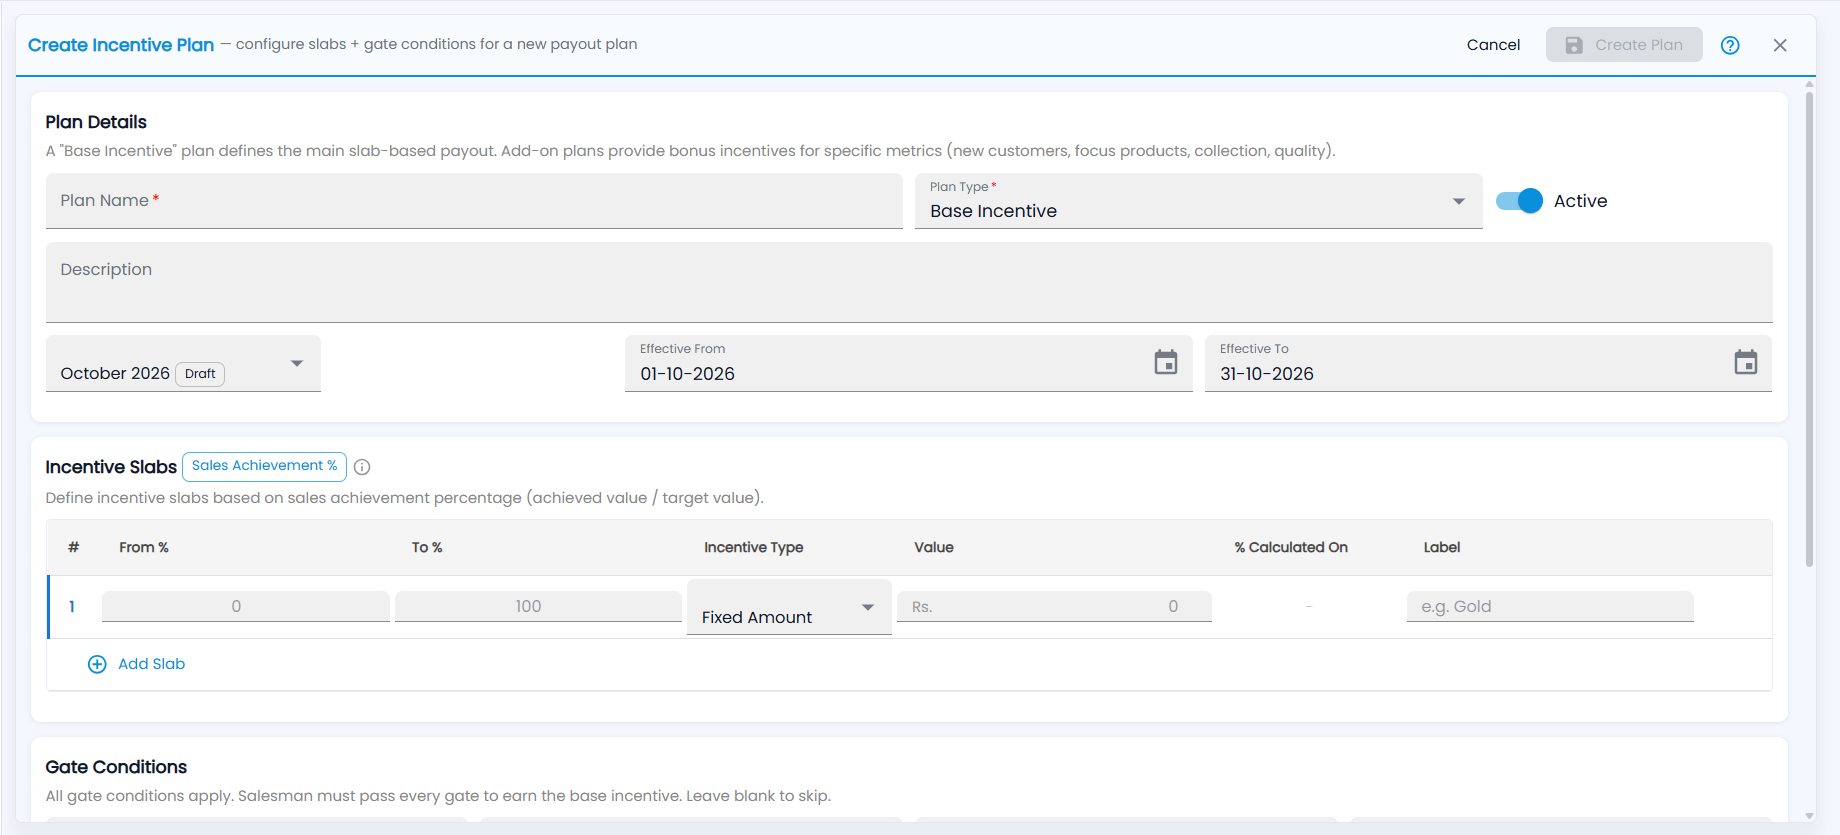
- Click Add Plan. Create Incentive Plan ("configure slabs + gate conditions for a new payout plan") opens.
- Under Plan Details, enter the Plan Name (required), choose the Plan Type (Base Incentive to start), leave Active on and add a Description. Pick the period, for example October 2026: it fills Effective From and Effective To with the first and last day of the month, which you can change.
- Under Incentive Slabs, the chip shows what the slabs measure (Sales Achievement % for a base plan). The first row starts at 0–100% with Fixed Amount. Fill one row per range: From %, To %, Incentive Type, Value, % Calculated On (for percentage slabs) and a Label such as Gold. Click Add Slab for more rows.
- Under Gate Conditions, enter the gates for this type, or leave them blank to skip. Every gate you fill applies: the salesman must pass all of them to earn the base incentive.
- Under Applicable To, keep All Locations (Branches) or Select Branches.
- Click Create Plan (Update Plan when editing). It stays greyed out until the required fields are filled.
| Incentive Type | Pays |
|---|---|
| Fixed Amount | A set ₹ amount |
| % of Sales | A % of the Achieved Value, the Target Value, or the Incremental (Achieved - Target) |
| Per Unit | A ₹ amount per unit |
| Gate | Rule |
|---|---|
| Min Achievement % | Must achieve at least this % of the sales target |
| Min Collection % | Must collect at least this % of the collection target |
| Max Returns % | Returns must not exceed this % of sales |
| Max Single Customer % | No single customer can exceed this % of total sales |
Important: Slabs cannot overlap, and each slab's From must be less than its To. Fix the highlighted rows before saving.