
Overview
A stock transfer moves stock from one of your locations to another — for example from Main to your trichy branch. The receiving location confirms it on Inventory > Stock Receive. Open Inventory > Stock Transfer.

The Stock Transfer List
| Column | What it shows |
|---|---|
| Challan Number | The transfer challan, for example 9/5/2026/969722 |
| Initiated Date / Receive Date | When the stock was sent, and when it was received |
| Source Location / Destination Location | Where the stock went from, and where it went to |
| Status | For example received once the destination has confirmed it |
| Action | The green tick shows the transfer has been received. The bin deletes a transfer; it is greyed out once the transfer is received |
Click the arrow at the start of a row to expand it and see what was sent: Product Name, Quantity sent, Received Quantity, the Status of each product, and Serial Number (ticked for serialized products). Click the arrow again to collapse it.
Use Search here to find a transfer, the filter icon to narrow the list, and + to start a new transfer.
Creating a Stock Transfer
Click +. The form opens with the next transfer number, for example StockTransfer - ST/26-27/001.
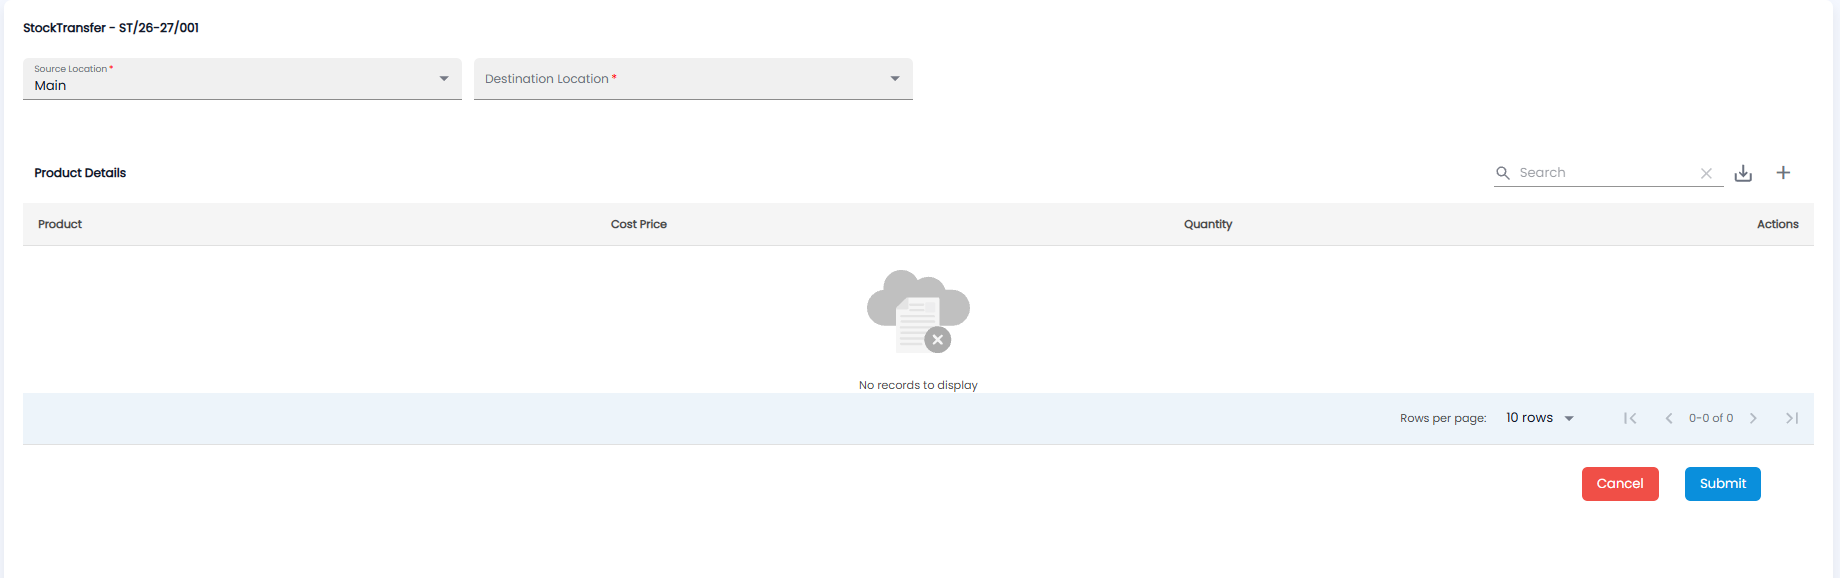
- Check the Source Location* — where the stock is going from (Main by default)
- Pick the Destination Location* — where it is going to
- Under Product Details, click + to add a product. Each row shows the Product, its Cost Price, and the Quantity to send; use Actions to change or remove a row. The download icon downloads the list, and Search finds a product already added
- Click Submit to send the transfer, or Cancel to leave without saving
The table says No records to display until you add a product. It shows 10 rows per page.
Tip: Check the Received Quantity against the Quantity when you expand a transfer — any difference means something did not arrive.