
Spaces and Projects
A space is a home for one team or area of work — for example your development team or your marketing team. Each space holds projects, and each project holds its sprints, epics, and work items. Click Space in the sidebar.
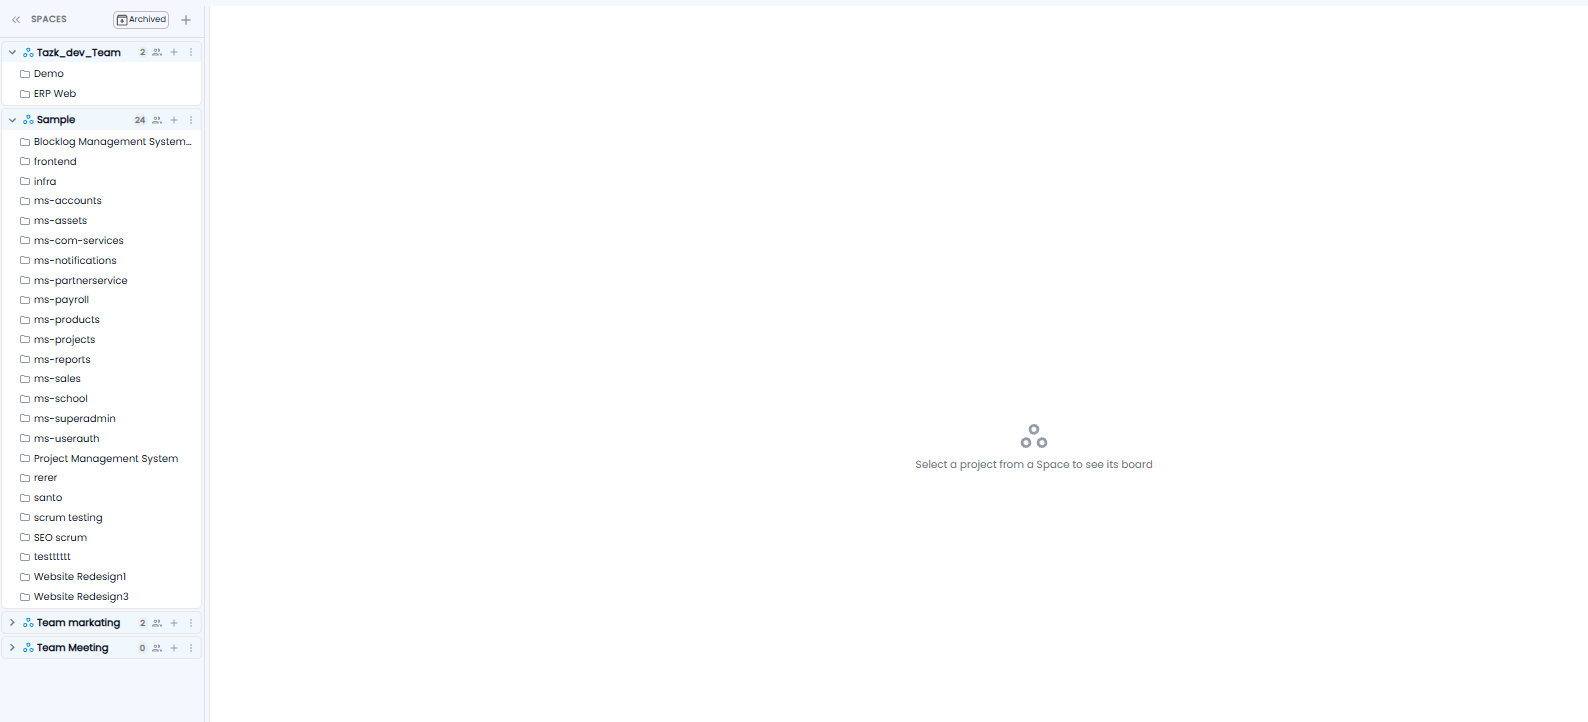
The Spaces Panel
- Each space shows its name and how many members it has. Click the arrow to open it and see its projects
- Click a project to open its board. Until you do, the right side says Select a project from a Space to see its board
- The + next to a space adds a project to it, and ⋮ gives more options for the space
- + at the top creates a new space, and Archived shows spaces that have been archived
- The << arrows fold the panel away to give the board more room
Creating a Space
Click + at the top of the Spaces panel. Create Space has three steps.
Step 1 — Space Type
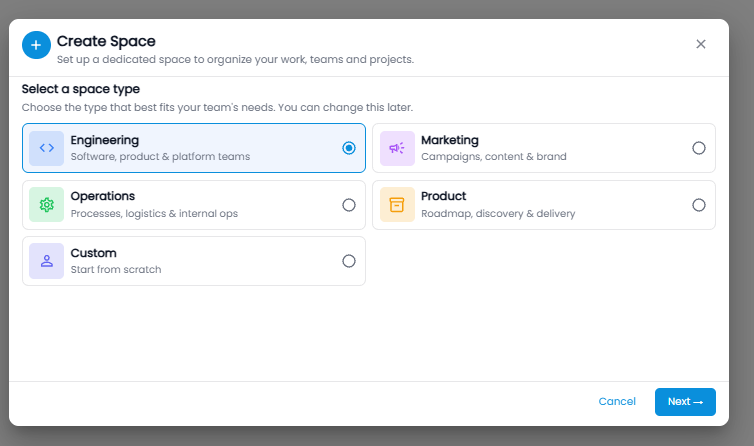
Pick the type that best fits the team. You can change it later.
| Type | For |
|---|---|
| Engineering | Software, product, and platform teams |
| Marketing | Campaigns, content, and brand |
| Operations | Processes, logistics, and internal operations |
| Product | Roadmap, discovery, and delivery |
| Custom | Starting from scratch |
Click Next.
Step 2 — Details
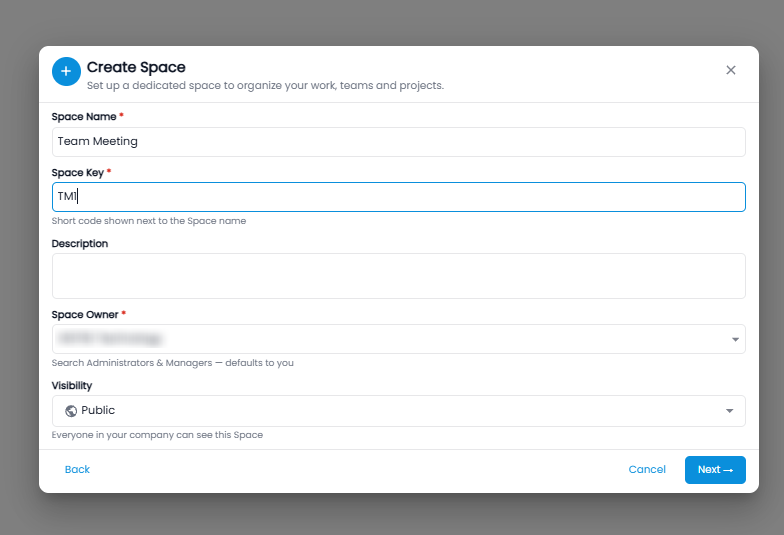
| Field | Required | Description |
|---|---|---|
| Space Name | Yes | For example Team Meeting |
| Space Key | Yes | A short code shown next to the space name, for example TM |
| Description | No | What the space is for |
| Space Owner | Yes | An administrator or manager. It is you unless you pick someone else |
| Visibility | — | Public — everyone in your company can see the space |
Click Next, or Back to change the type.
Step 3 — Members
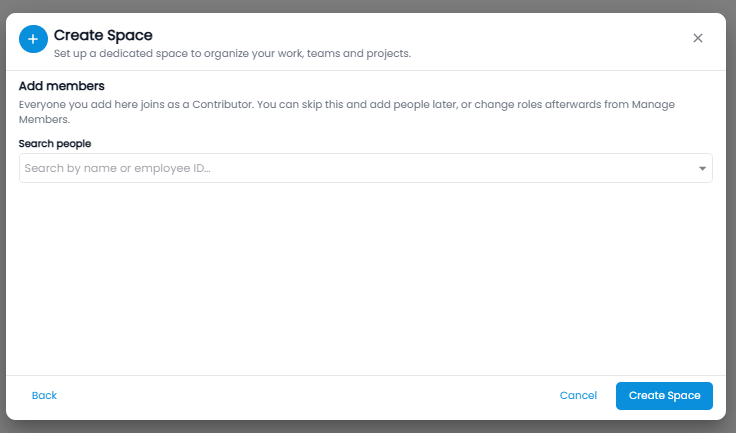
Search for people by name or employee ID and add them. Everyone you add here joins as a Contributor. You can skip this and add people later, or change their roles afterwards, from Manage Members.
Click Create Space.
Note: People must be in Contacts before you can add them to a space — see Employee Directory.