
How do I set up SMS and email sending in Tazk POS?
Go to Configuration → SMS and click Add SMS Config to enter your provider's gateway URL, sender header and API token for a location, and test it with Test SMS. For email, open Configuration → Mail, click Add Mail Config and enter the SMTP host, port, sender address, password and an optional BCC. Each location can have its own settings. WhatsApp credits, consent and your own Meta account are on the WhatsApp tab.
How do I add an SMS gateway?
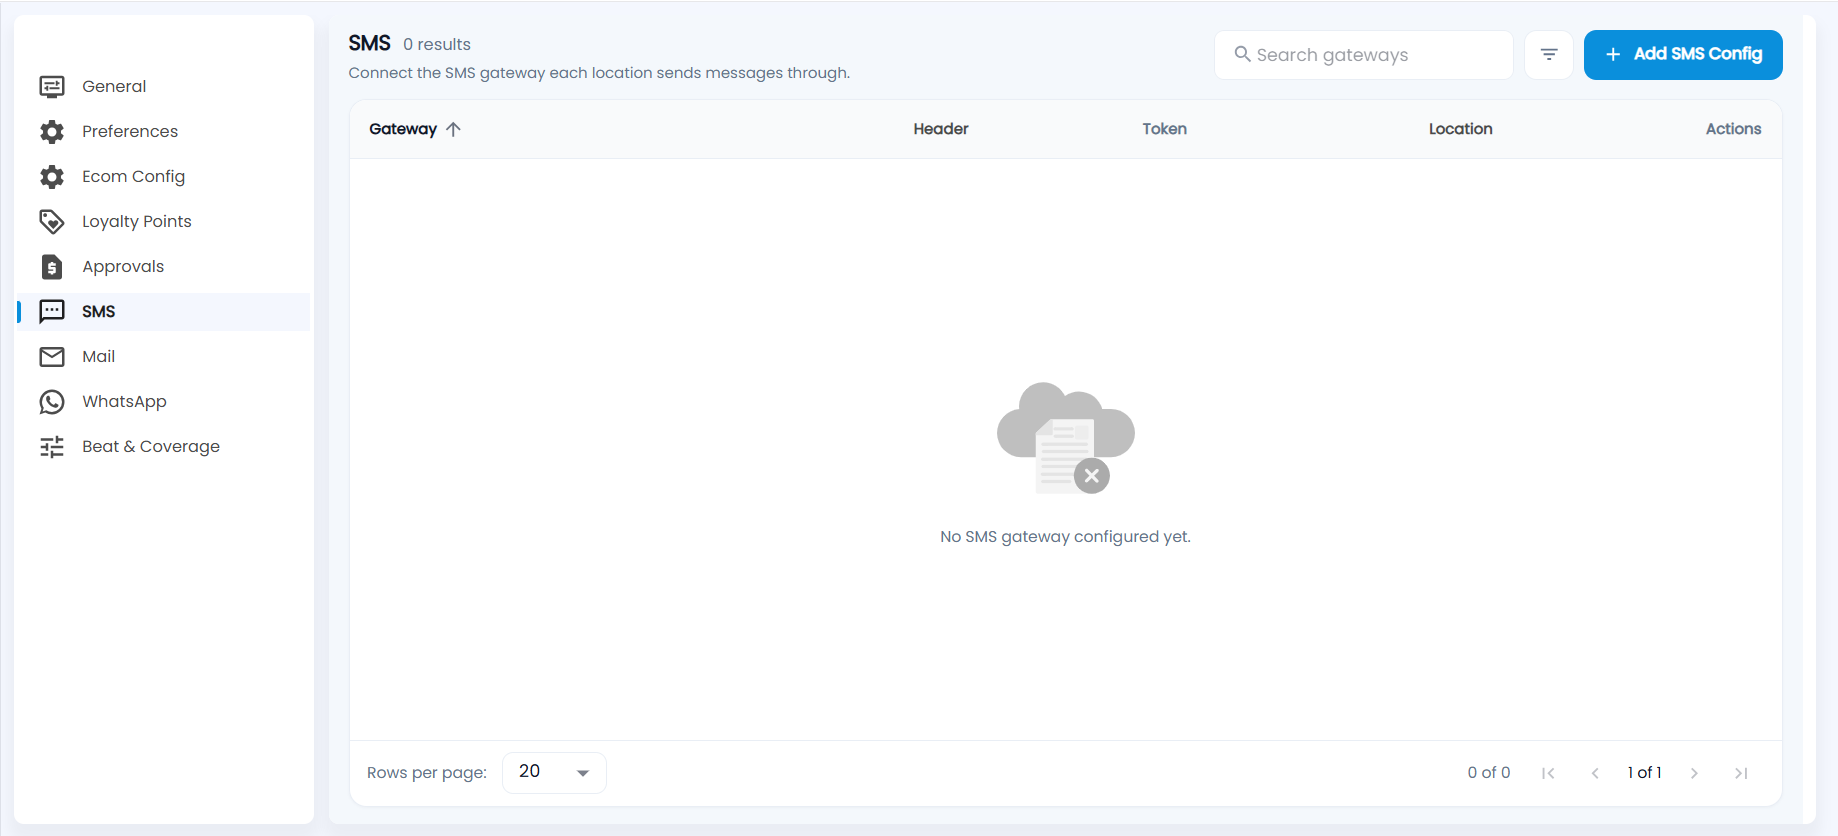
The SMS list (Connect the SMS gateway each location sends messages through) shows the number of gateways and the columns Gateway, Header, Token, Location and Actions (edit and delete). Until you add one it says No SMS gateway configured yet.
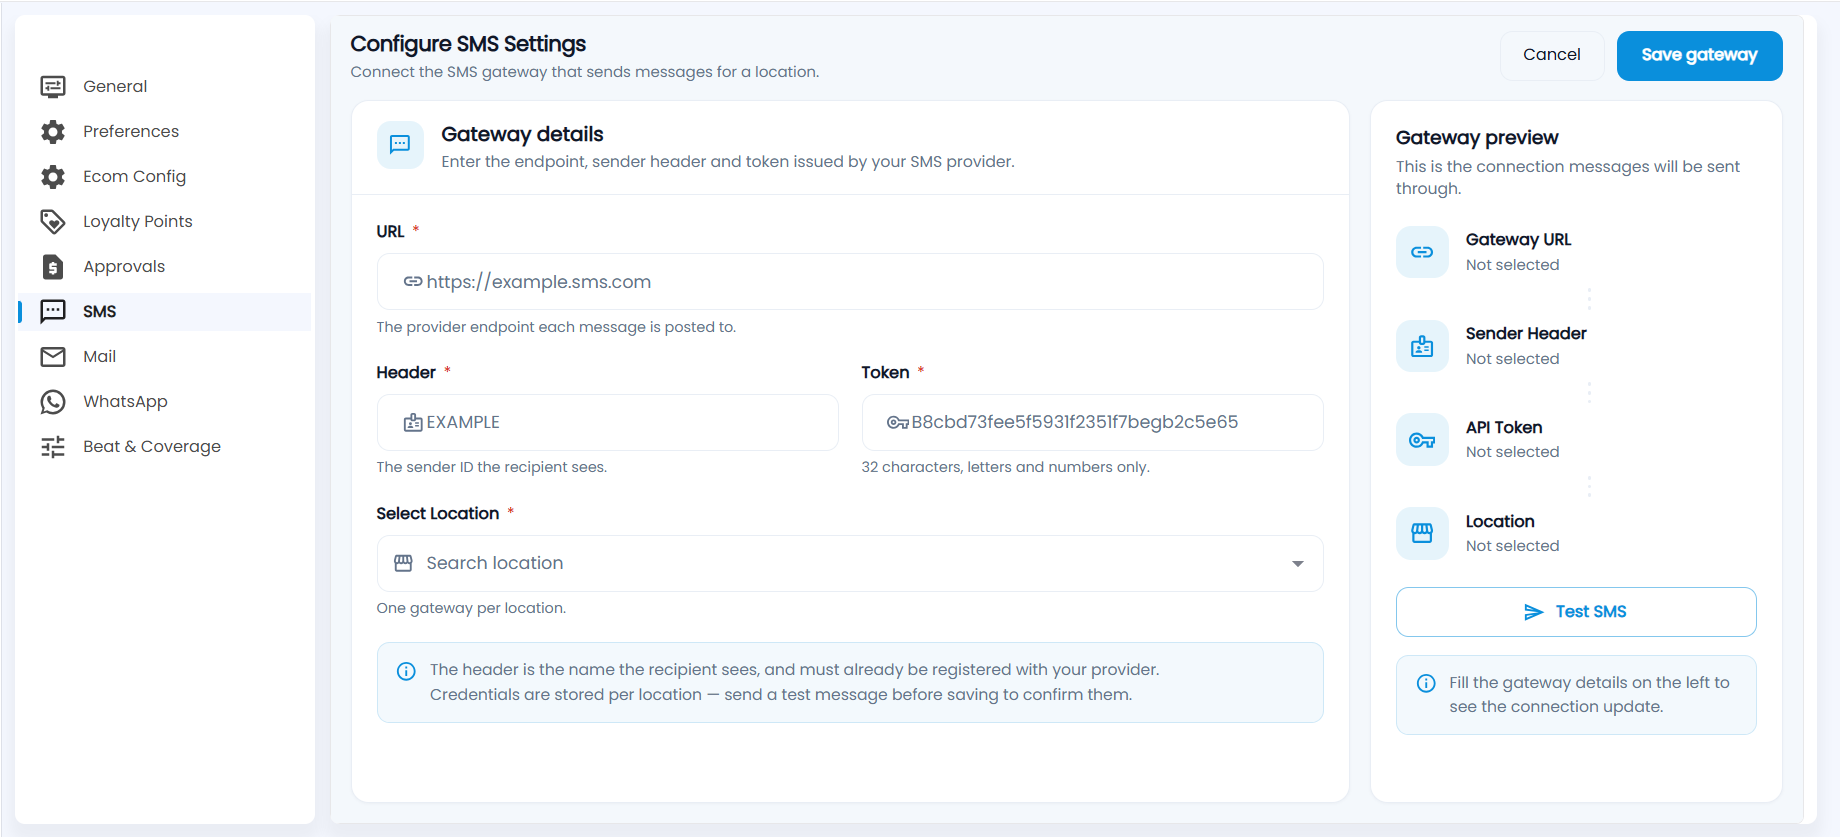
- Click Add SMS Config. Configure SMS Settings opens.
- Under Gateway details, enter the URL (the provider endpoint each message is posted to, for example https://example.sms.com), the Header (the sender ID the recipient sees; it must already be registered with your provider) and the Token (32 characters, letters and numbers only). All are required.
- Choose the location in Select Location — one gateway per location.
- The Gateway preview on the right fills in as you type. Click Test SMS to send a test message and confirm the details.
- Click Save gateway (or Cancel). When editing, the button reads Save changes.
How do I add a mail account?
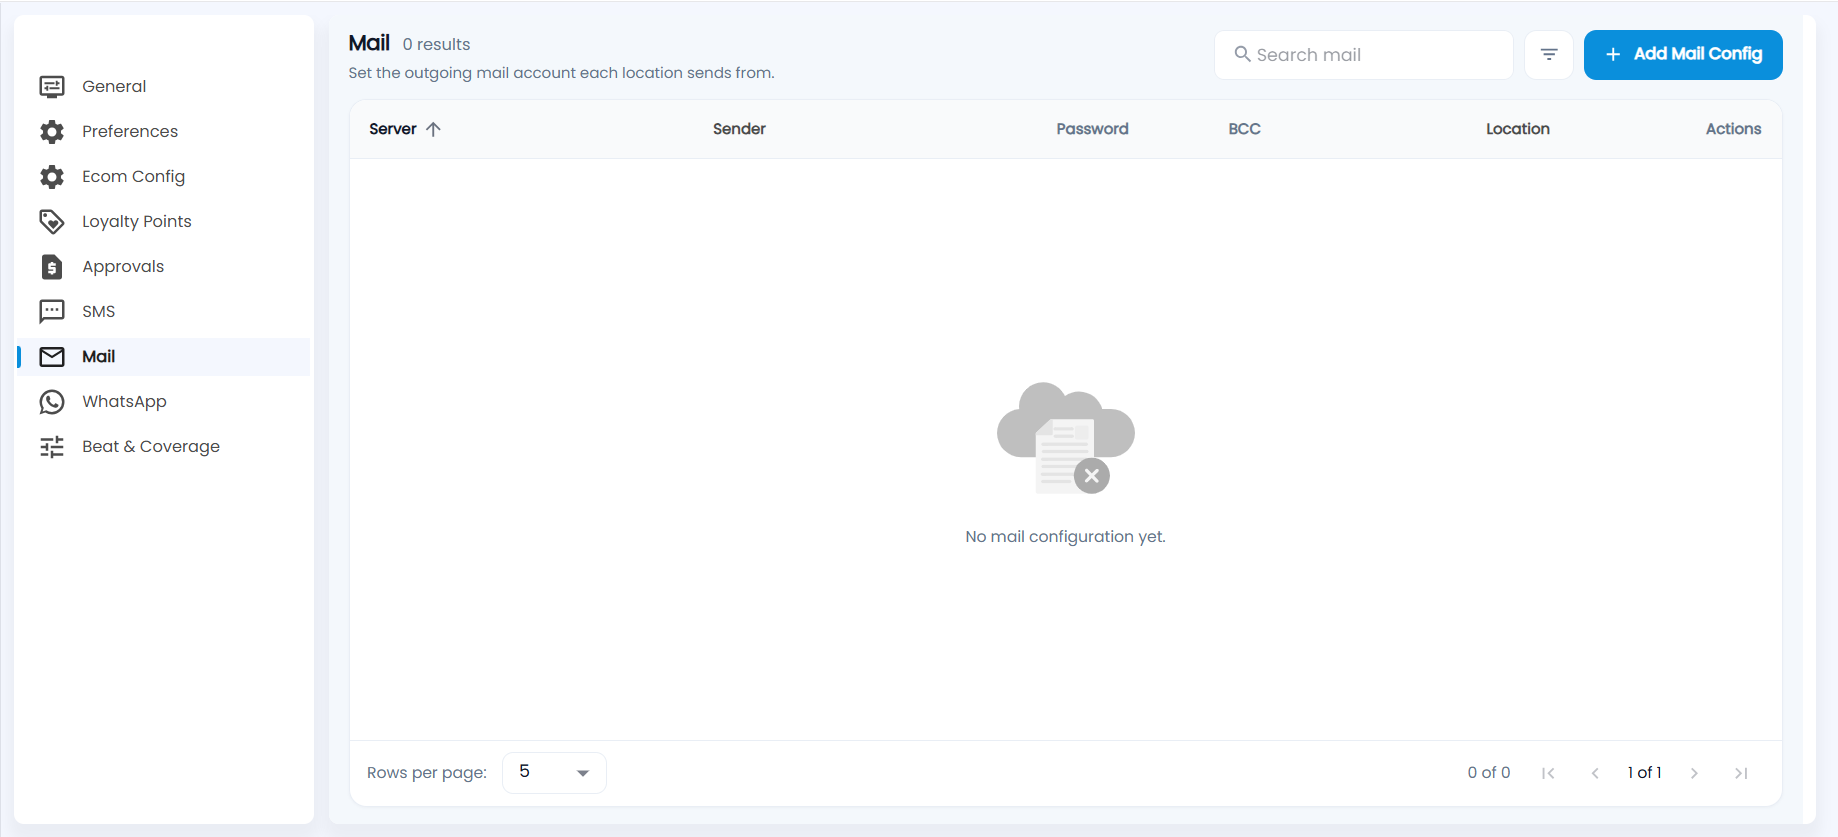
The Mail list (Set the outgoing mail account each location sends from) shows Server, Sender, Password, BCC, Location and Actions. Until you add one it says No mail configuration yet.
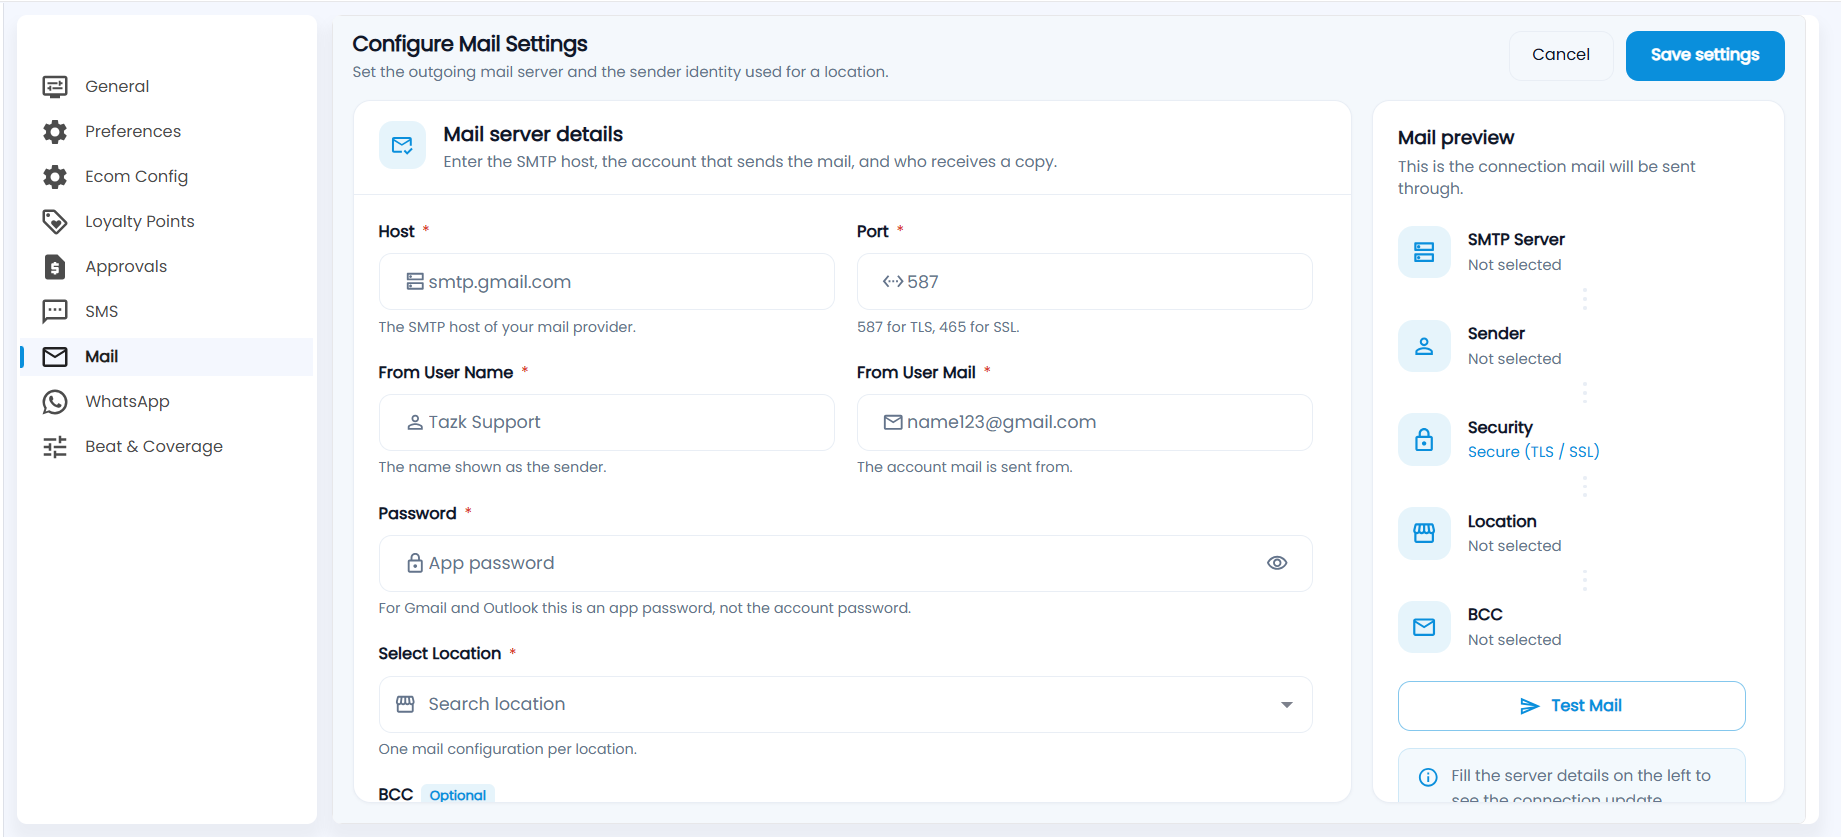
- Click Add Mail Config. Configure Mail Settings opens.
- Under Mail server details, enter the Host (the SMTP host of your mail provider, for example smtp.gmail.com) and Port (587 for TLS, 465 for SSL).
- Enter From User Name (the name shown as the sender), From User Mail (the account mail is sent from) and the Password — for Gmail and Outlook this is an app password, not the account password.
- Choose the location in Select Location — one mail configuration per location — and optionally add BCC addresses that get a copy of every mail.
- Check the Mail preview (including the Security it will use, TLS or SSL), click Test Mail, then Save settings (or Cancel).
What is on the WhatsApp tab?
The WhatsApp tab has five tabs — WhatsApp Credits, Billing, WhatsApp Consent, Setup and Templates. Which ones you see depends on your role; they are usually for administrators only.
WhatsApp Credits
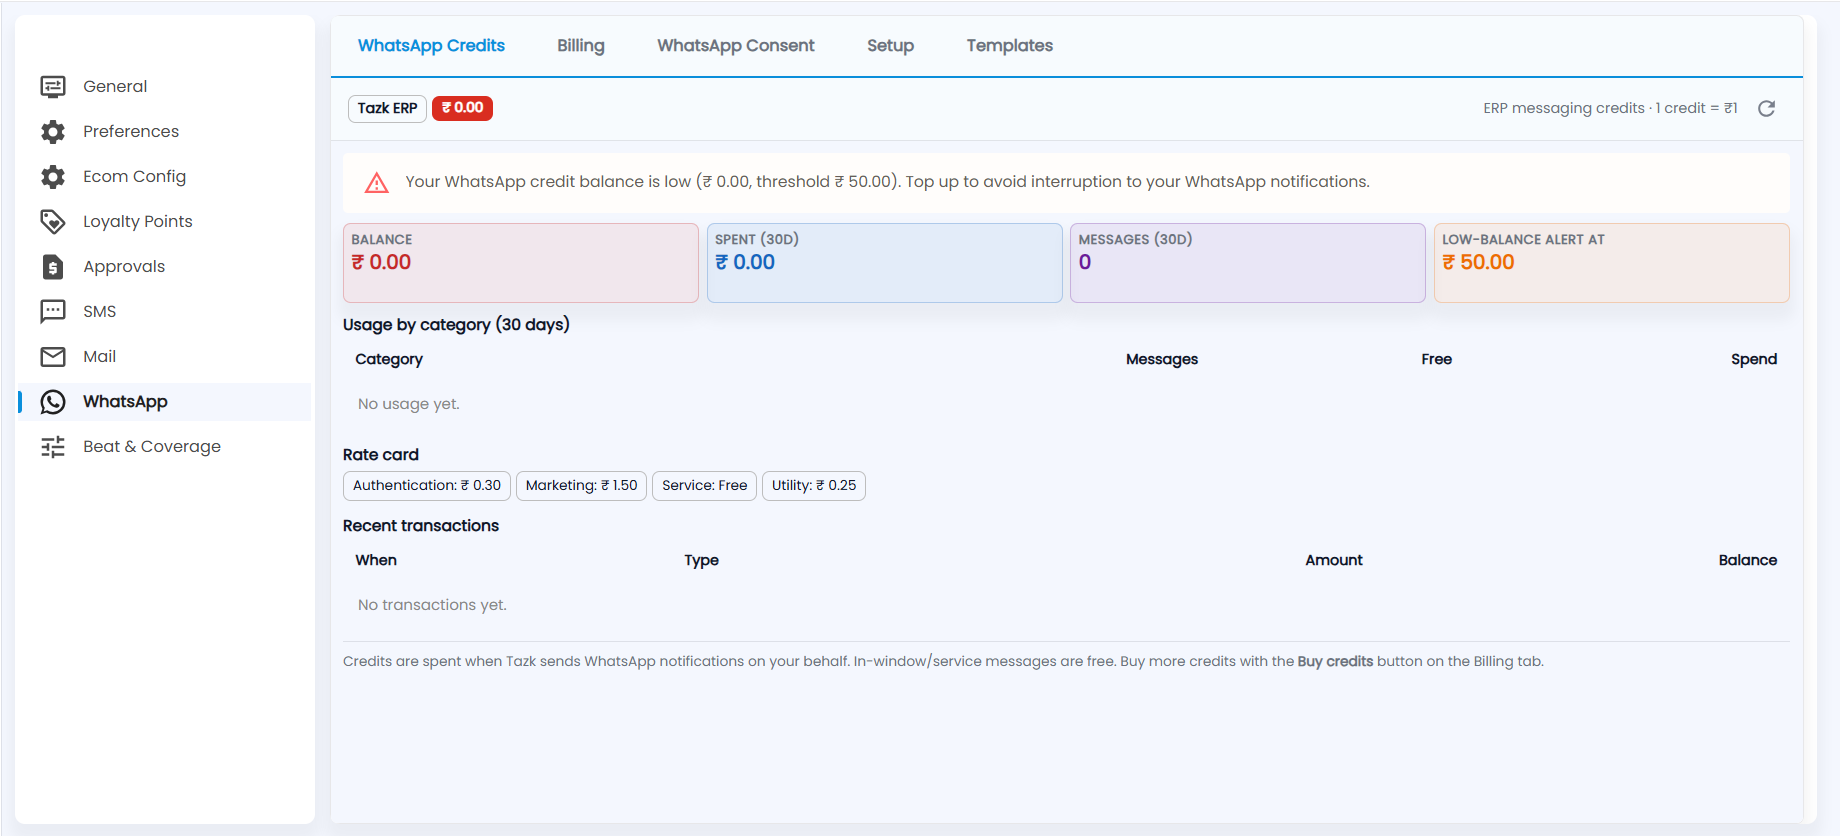
Tazk sends WhatsApp notifications on your behalf using ERP messaging credits (1 credit = ₹1); the chip at the top shows your balance. If the balance is below your threshold, a warning asks you to top up. The cards show Balance, Spent (30D), Messages (30D) and Low-balance alert at. Below are Usage by category (30 days) (messages, free and spend per category), the Rate card — for example Authentication ₹0.30, Marketing ₹1.50, Service free, Utility ₹0.25 — and Recent transactions. In-window and service messages are free.
Billing
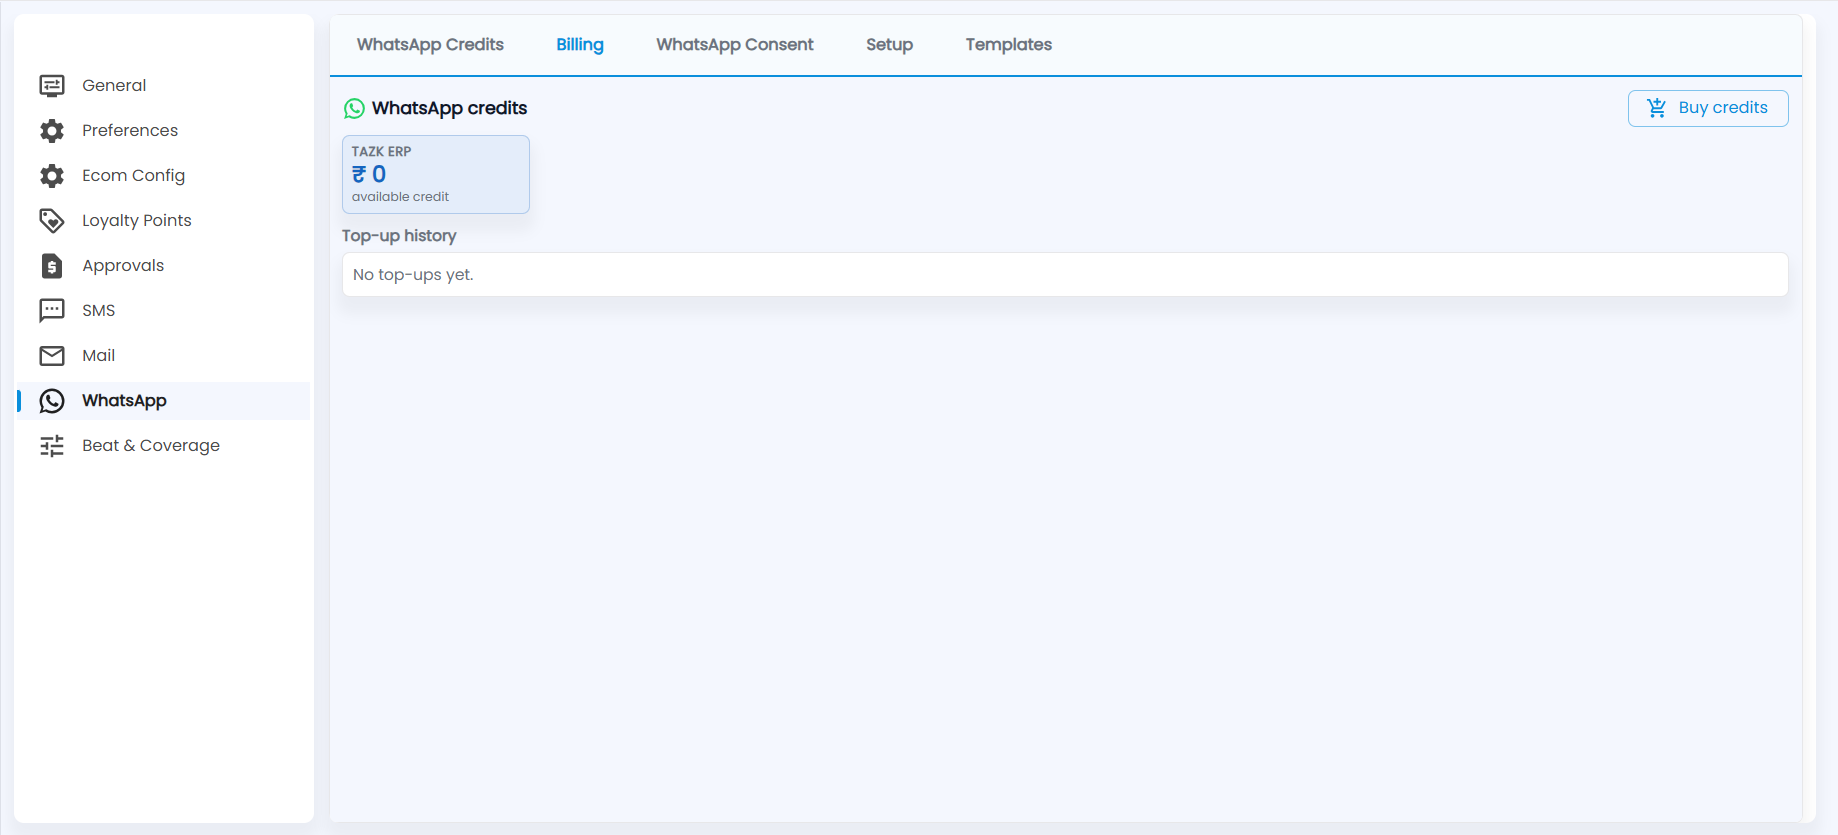
Shows your available credit and the Top-up history. Click Buy credits to top up. Billing is hidden when you use your own Meta account, because Meta then bills you directly.
WhatsApp Consent
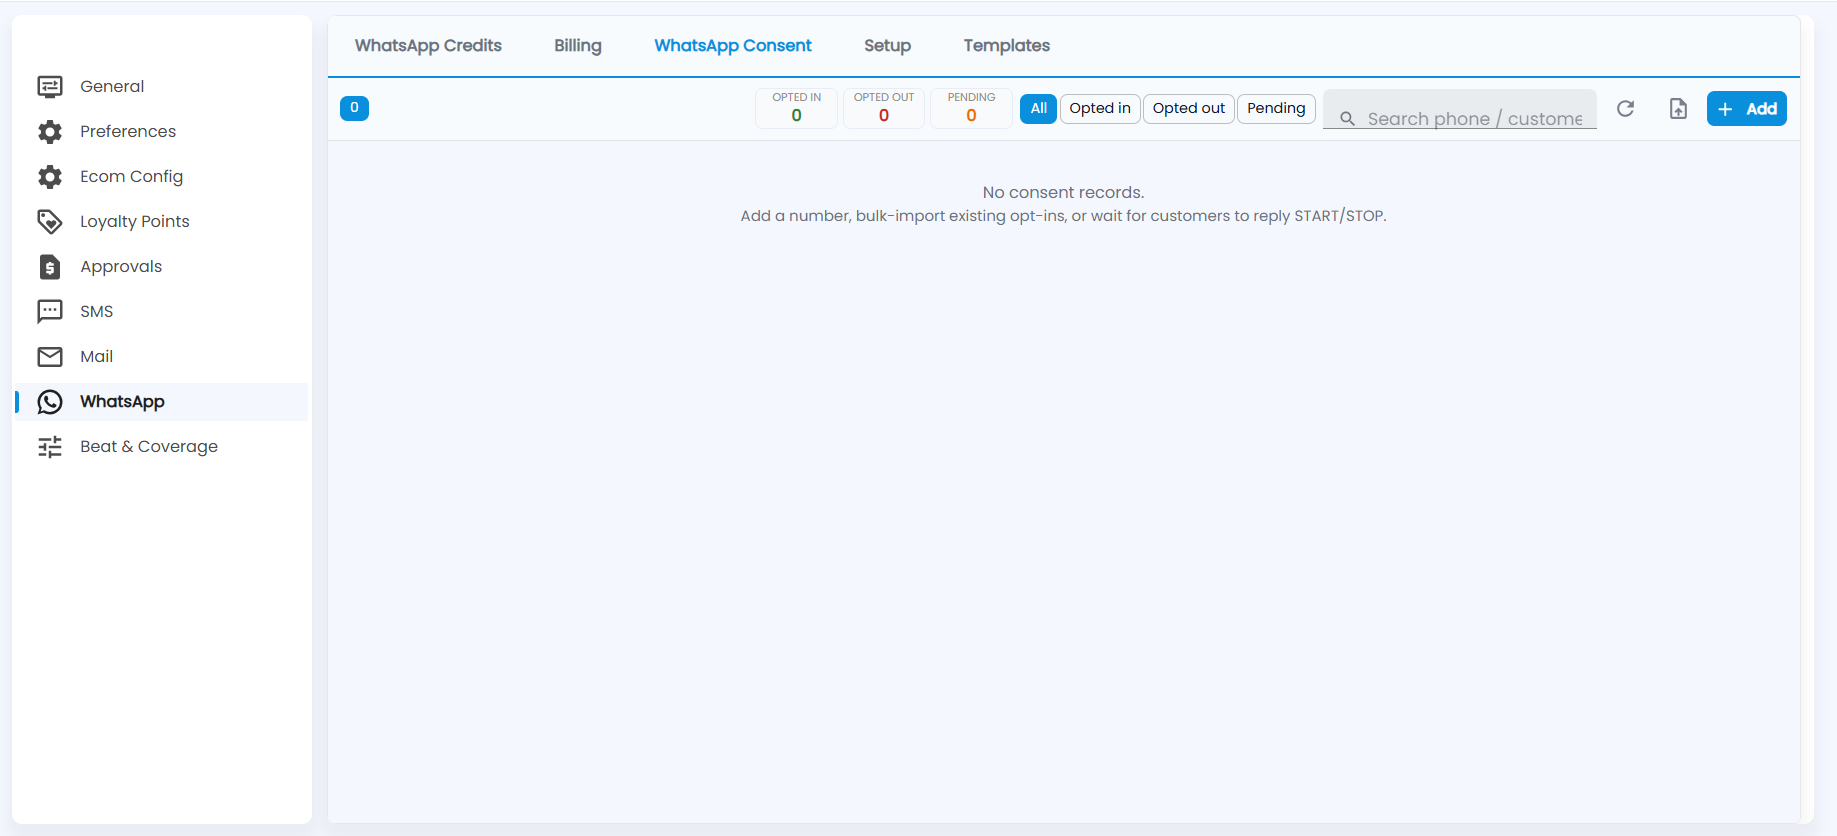
Lists who has agreed to receive messages, with counts for Opted in, Opted out and Pending and chips to filter by them. Search by phone or customer. To add consent, click + Add, or use the upload icon to bulk-import existing opt-ins; customers can also reply START or STOP.
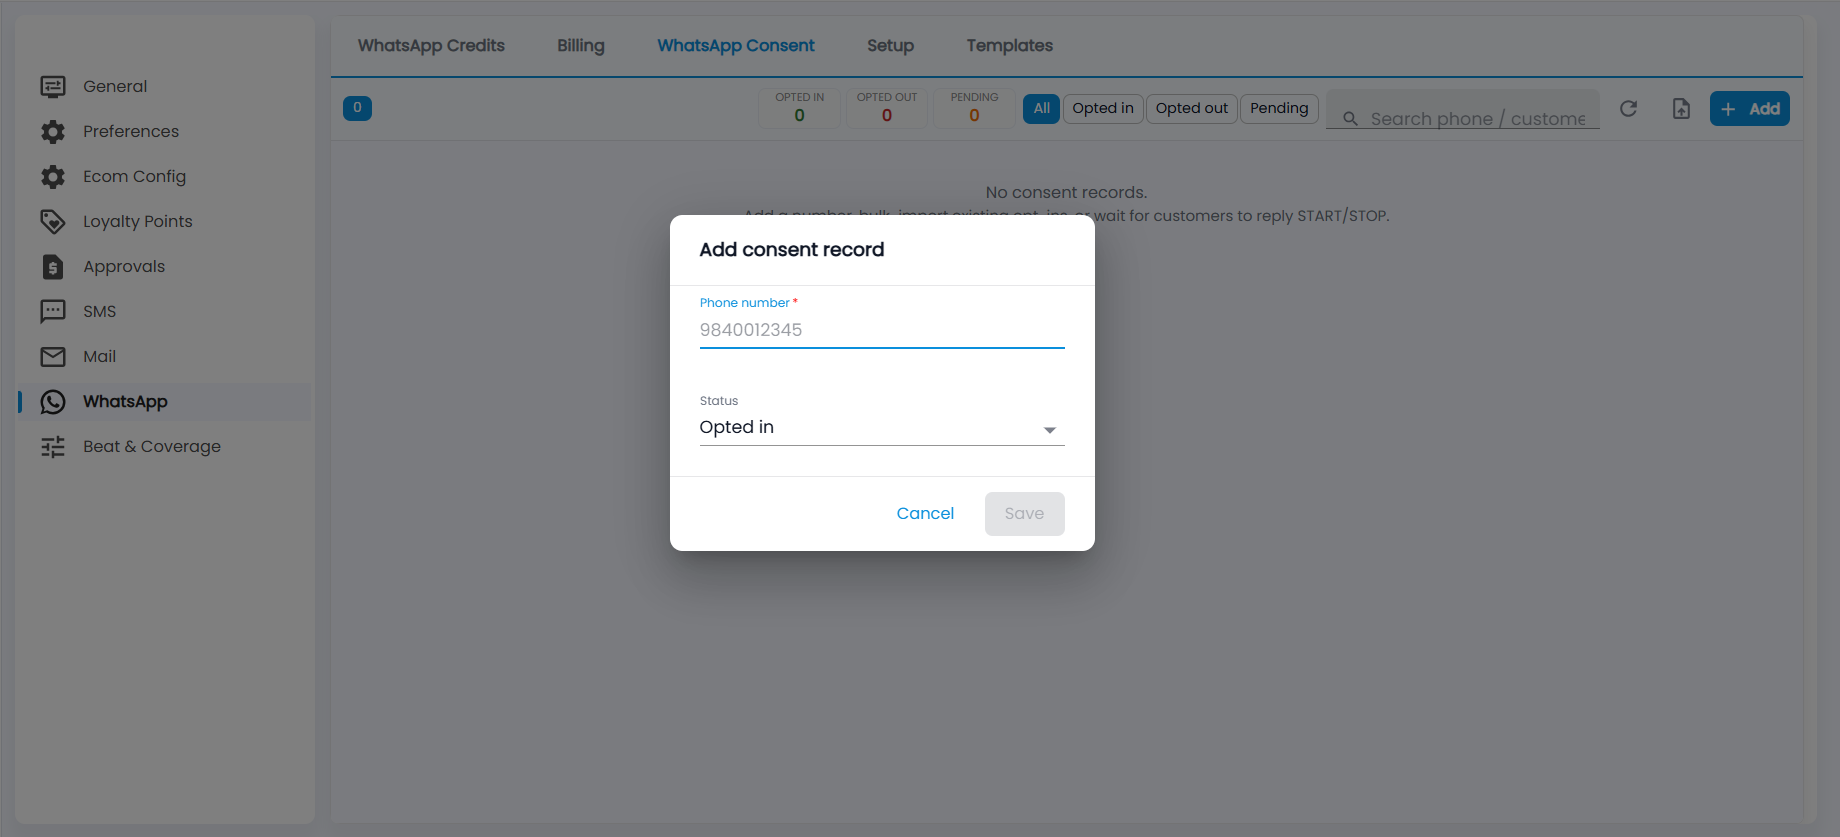
In Add consent record, enter the Phone number (required), choose the Status (Opted in by default) and click Save.
Setup
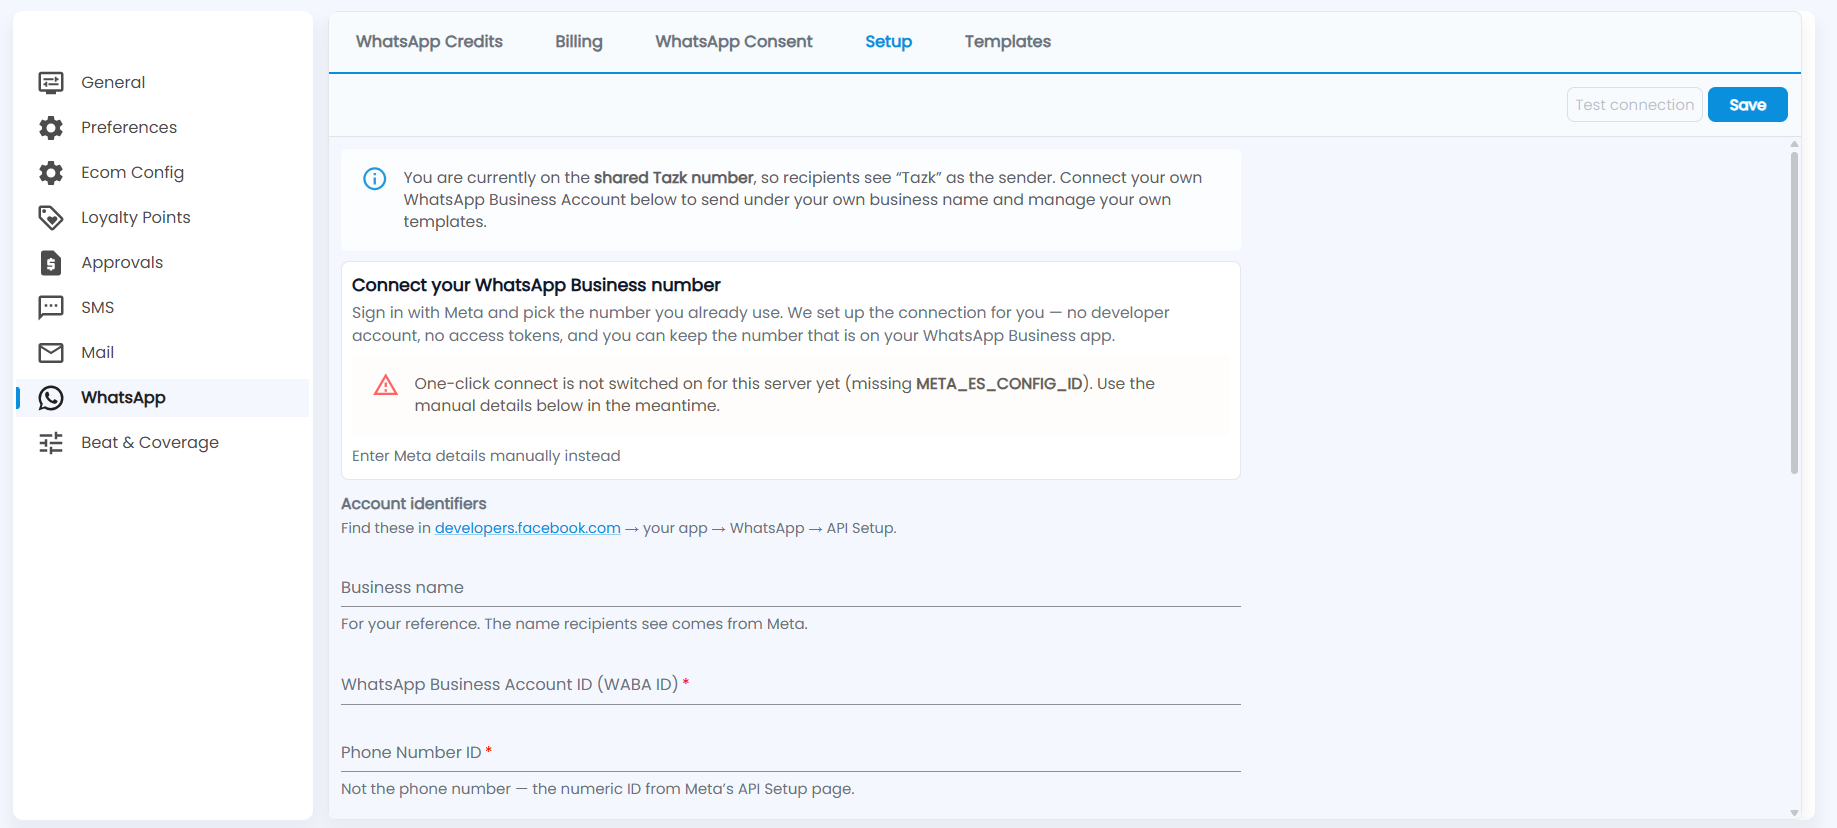
By default you send from the shared Tazk number, so recipients see “Tazk” as the sender. To send under your own business name and manage your own templates, connect your own WhatsApp Business Account here. Where one-click Sign in with Meta is switched on for your server, you pick your existing number and Tazk sets up the connection; otherwise the page says one-click connect is not available yet, and you use Enter Meta details manually instead.
Under Account identifiers (found in developers.facebook.com → your app → WhatsApp → API Setup), enter the Business name (for your reference), WhatsApp Business Account ID (WABA ID) and Phone Number ID (the numeric ID, not the phone number) — both required — and the remaining access details below them. Click Test connection, then Save.
Templates
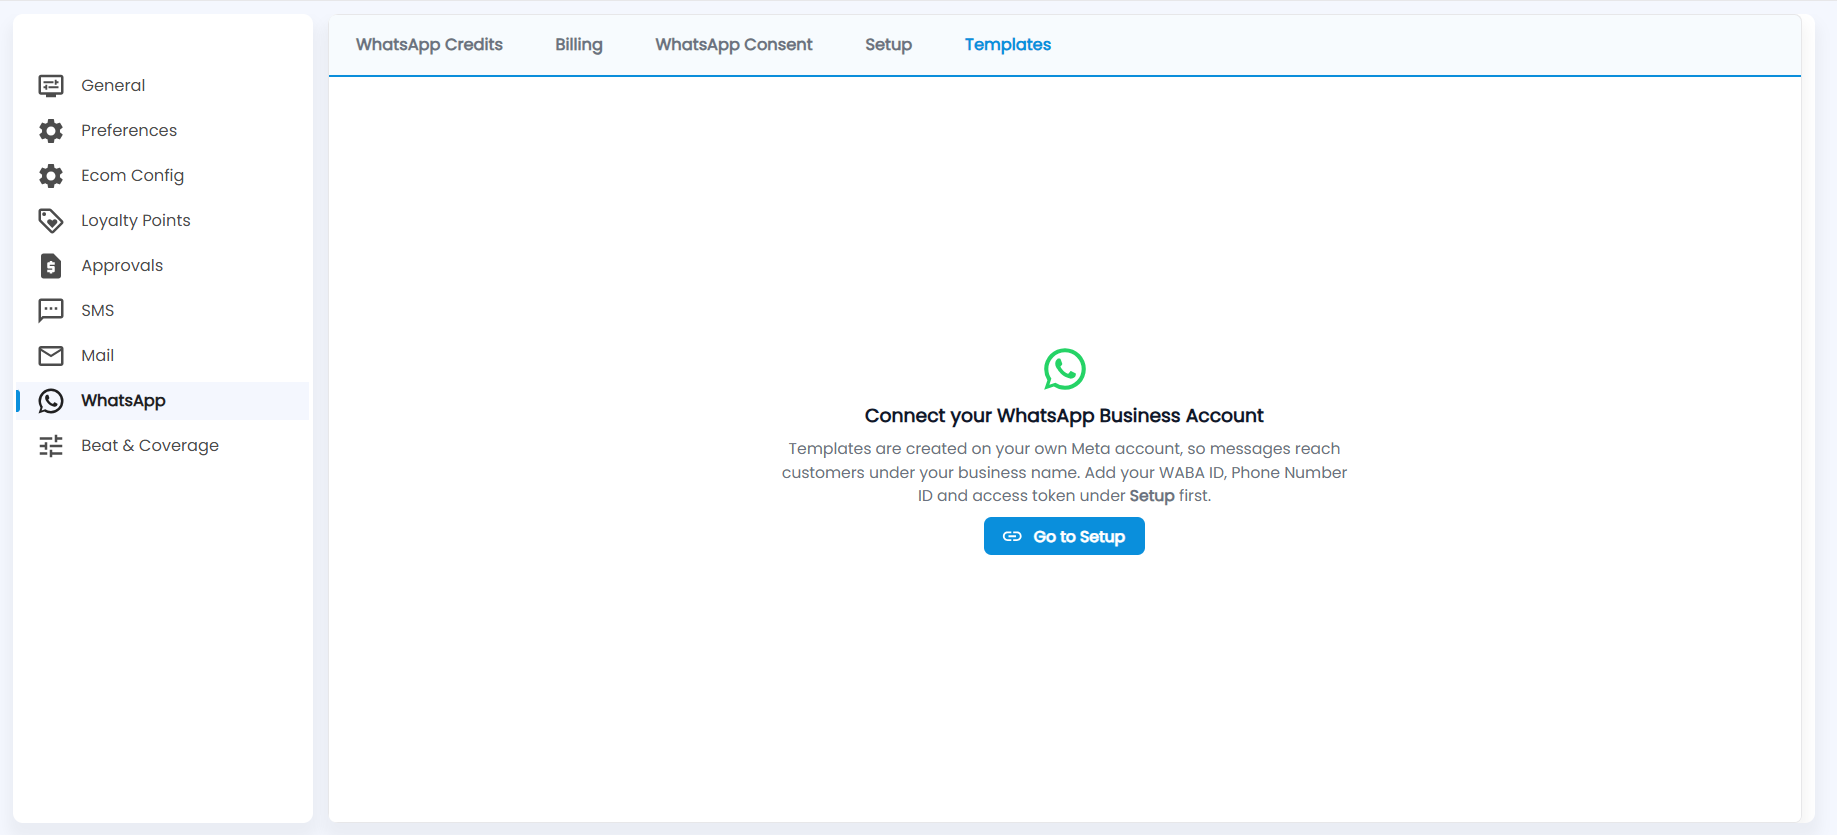
Message templates are created on your own Meta account, so messages reach customers under your business name. Until you have added your WABA ID, Phone Number ID and access token under Setup, the tab says Connect your WhatsApp Business Account with a Go to Setup button. Once connected, create templates here or bring in the ones you already have from Meta.
How do I choose which reminders are sent?
Reminder Settings ("Select which reminders are sent to you and your customers") has two switches at the top:
- Send Billing SMS to Customer: sends an SMS to the customer whenever a transaction is created.
- Get payment reminders on WhatsApp: sends you WhatsApp alerts when payments are due from customers.
Below them are two groups of tick boxes:
| Group | Reminders |
|---|---|
| TO Customer (by SMS) | Sales Invoice: 3 days before the due date and/or on the due date |
| TO YOU (mobile app and WhatsApp) | Sales Invoice (to collect payments on time), Low Stock (when stock falls below the stock level), Purchase Invoice (3 days before or on the due date, to pay suppliers on time) and Daily Summary (Outstanding Collection and Payments, Yesterday's Sales) |
Related: Receivables, Payables, Stocks.