
Overview
The Settings tab controls how every code is generated and printed. Open it from Codes > Settings.
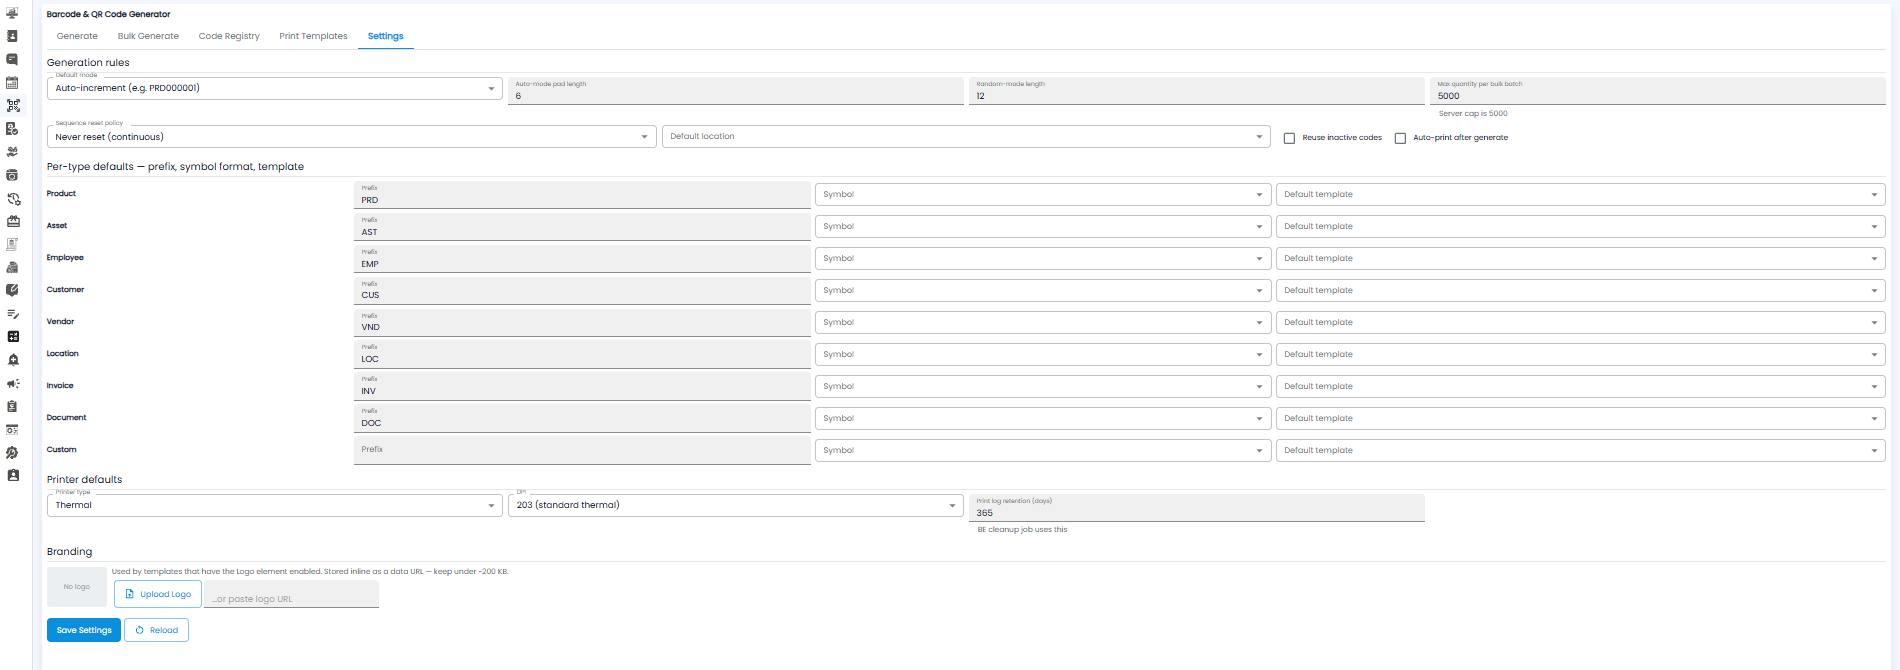
Generation Rules
| Setting | Description |
|---|---|
| Default mode | How code values are made. Auto-increment numbers codes in order, for example PRD000001, PRD000002 |
| Auto-mode pad length | How many digits auto-increment numbers have (6 gives 000001) |
| Random-mode length | How many characters a random code has |
| Max quantity per bulk batch | The most codes one bulk upload can create. The limit is 5,000 |
| Sequence reset policy | When numbering starts again. Never reset (continuous) keeps counting up |
| Default location | The location given to new codes |
| Reuse inactive codes | Tick to reuse the values of codes that have been switched to inactive |
| Auto-print after generate | Tick to print a label automatically each time a code is generated |
Per-Type Defaults
Each kind of code can have its own Prefix, Symbol (QR code or barcode format), and Default template. The prefixes are set to:
| Type | Prefix |
|---|---|
| Product | PRD |
| Asset | AST |
| Employee | EMP |
| Customer | CUS |
| Vendor | VND |
| Location | LOC |
| Invoice | INV |
| Document | DOC |
| Custom | (none — enter your own) |
So the first asset code with a pad length of 6 is AST000001.
Printer Defaults
- Printer type — for example Thermal
- DPI — your printer's resolution, for example 203 (standard thermal)
- Print log retention (days) — how long the print history is kept, for example 365 days
Branding
Add your company logo for templates that use the Company logo element. Click Upload Logo, or paste a logo URL in the box next to it. Keep the logo under about 200 KB.
Saving
Click Save Settings to apply your changes, or Reload to discard them and load the saved settings again.
Tip: Set a Default template for each type you print, so Generate & Print is ready to go without picking a template every time.